VSCode
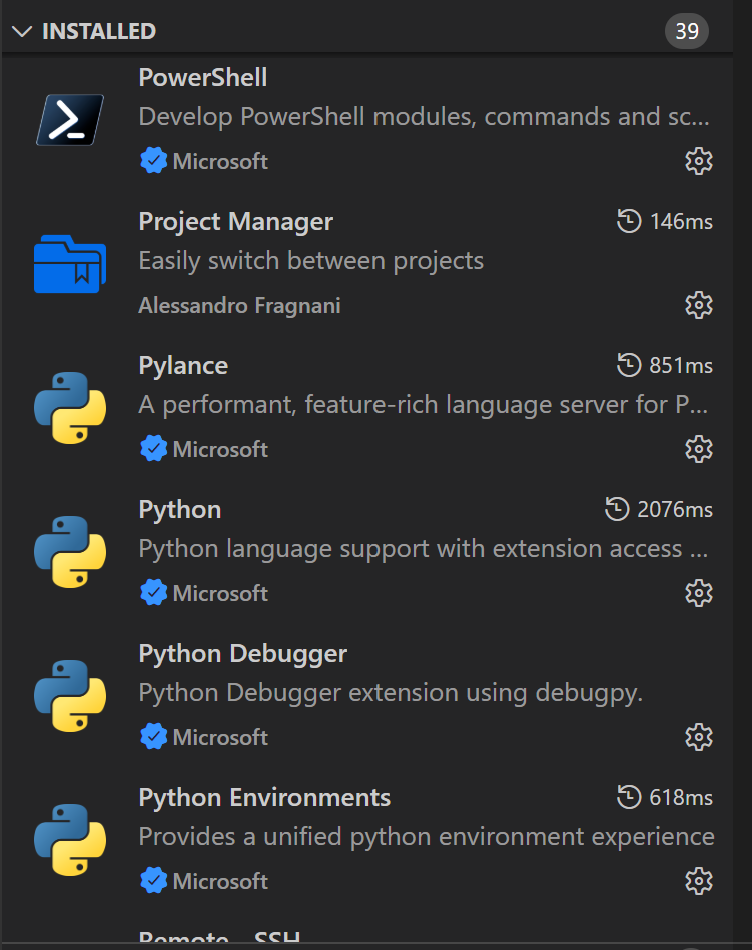
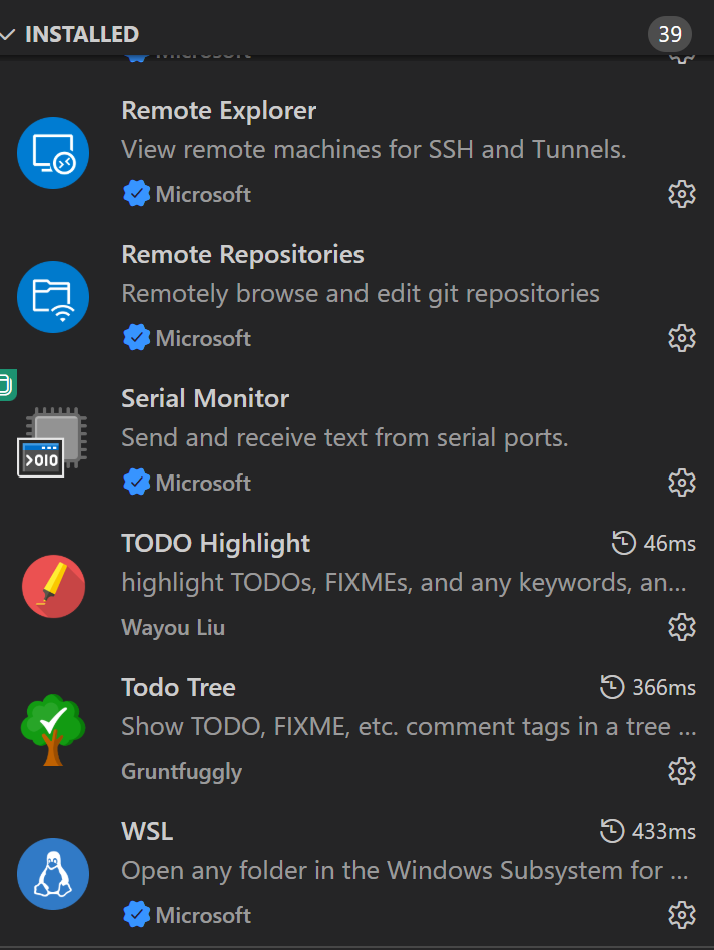
VSCode-Extension
- VSCode Main 구성
- Javascript (Node.js)
- electron 과 json 과 각 연결부분 bin
- Typescript
- Jsvascript 보다 빠르게 하기 위해서 사용
- Javascript (Node.js)
- TypeScript 의 중요성
내부적으로 봐도, 거의 주요 부분을 Typescript으로 사용하는 듯하며, 세부적 분석할 대 중요
https://devblogs.microsoft.com/typescript/typescript-native-port/
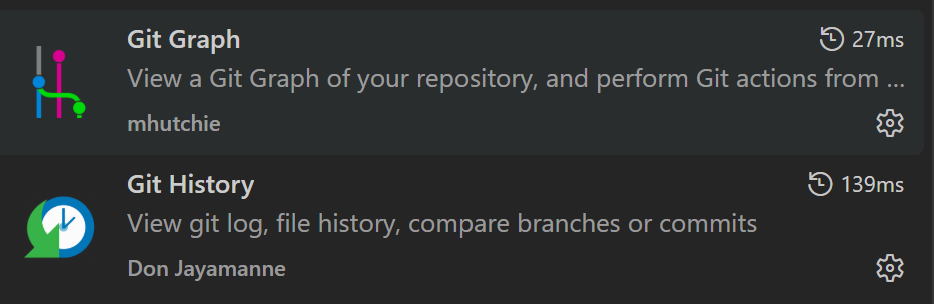
Git Graph
Git History 분석
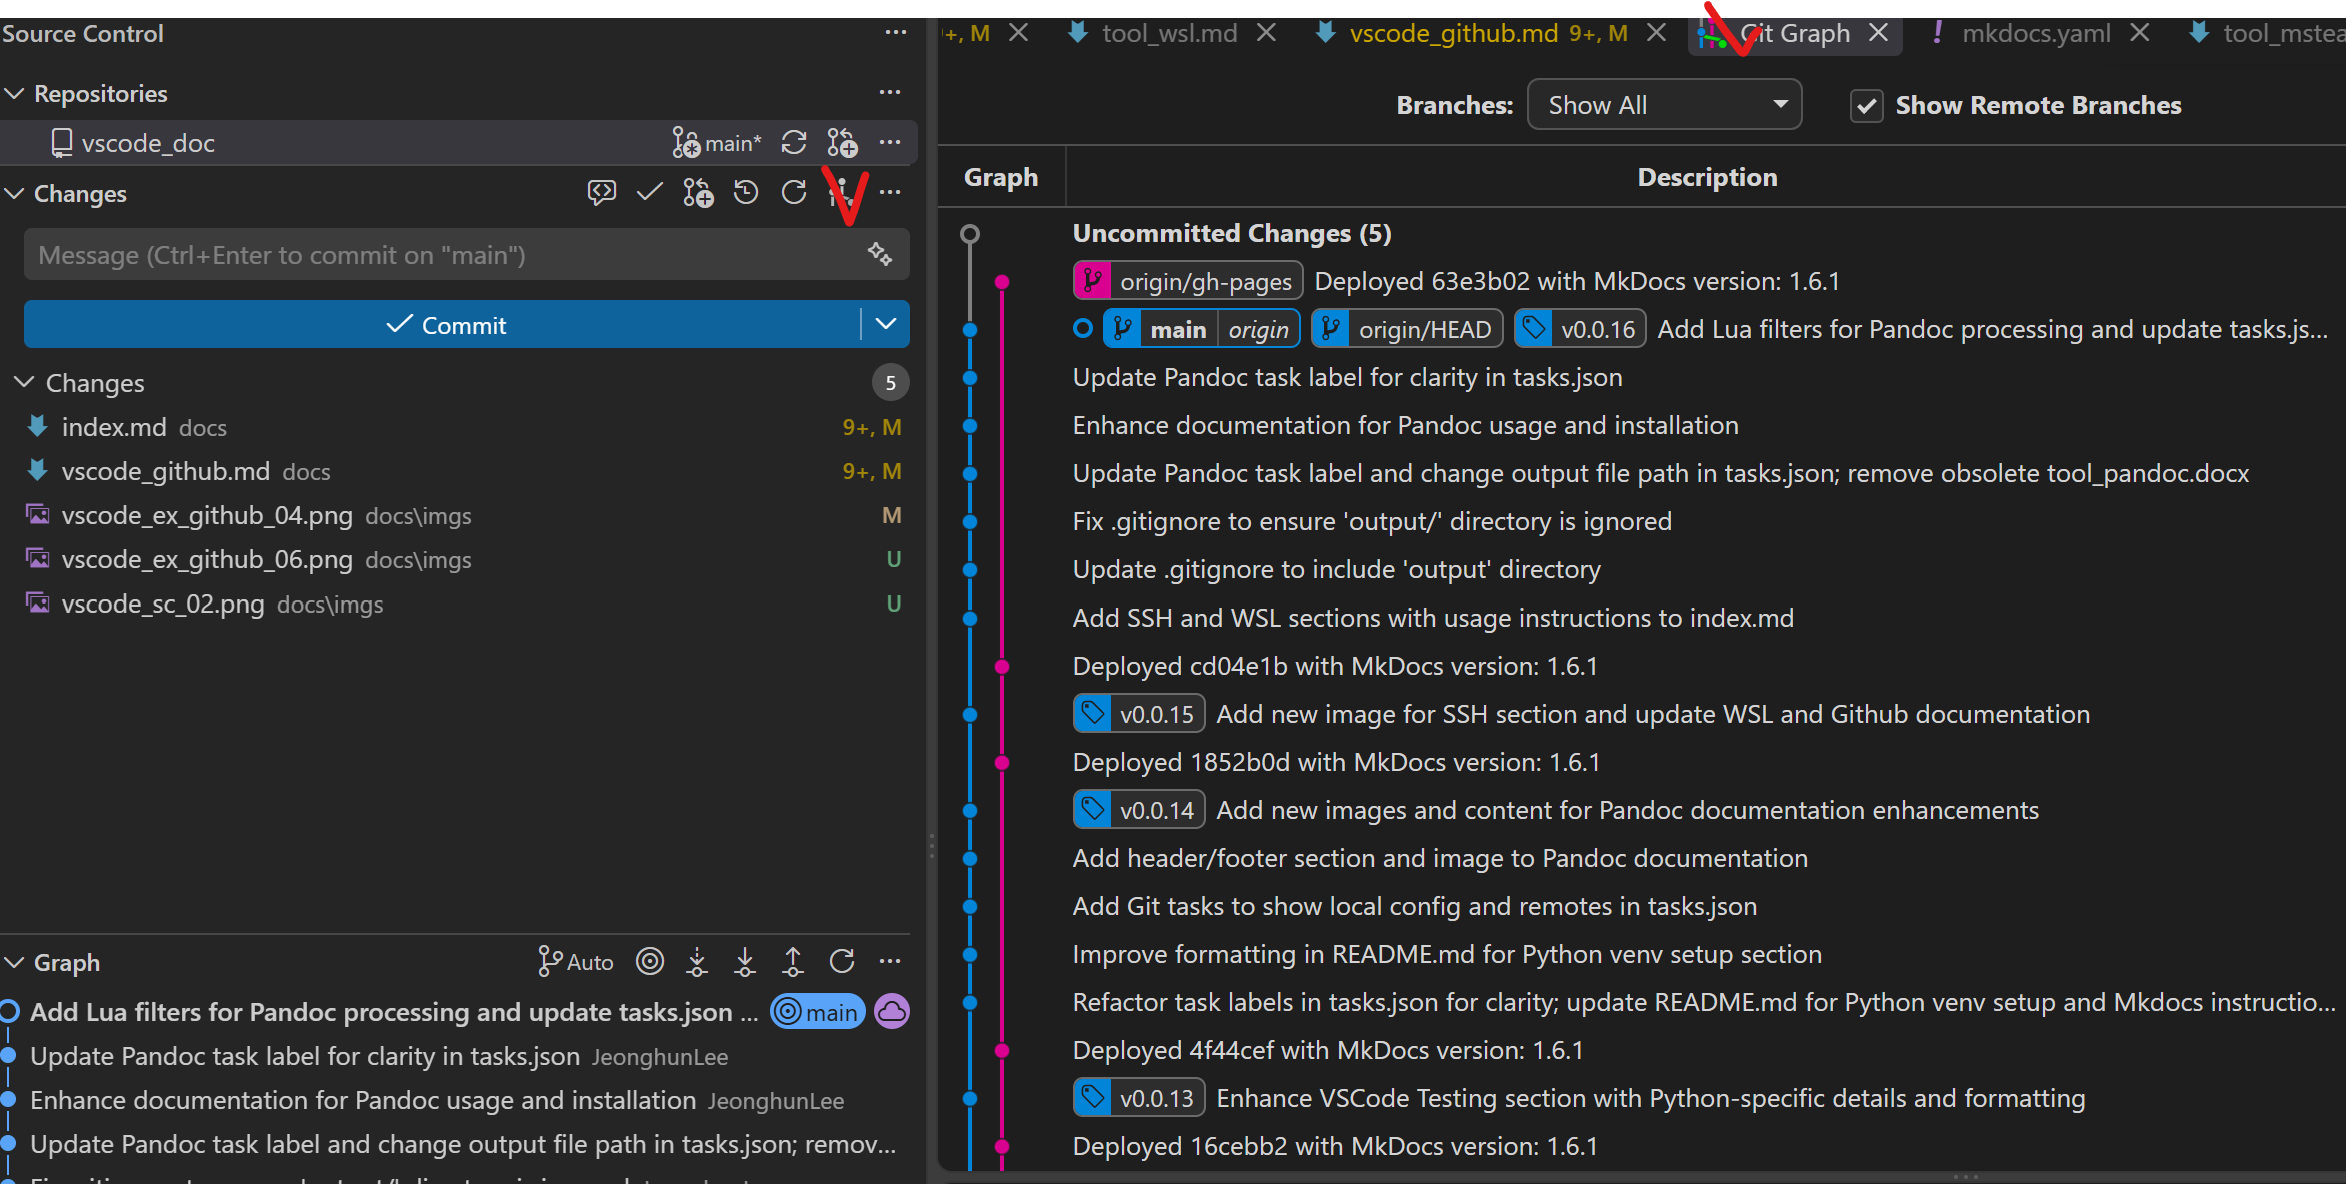
- Local / Remote Respository History 분석
- main : local
- origin/main : remote
- VS Code 의 Source Control 같이 사용
-
Source Control > Git Graph
-
Git Graph Extension
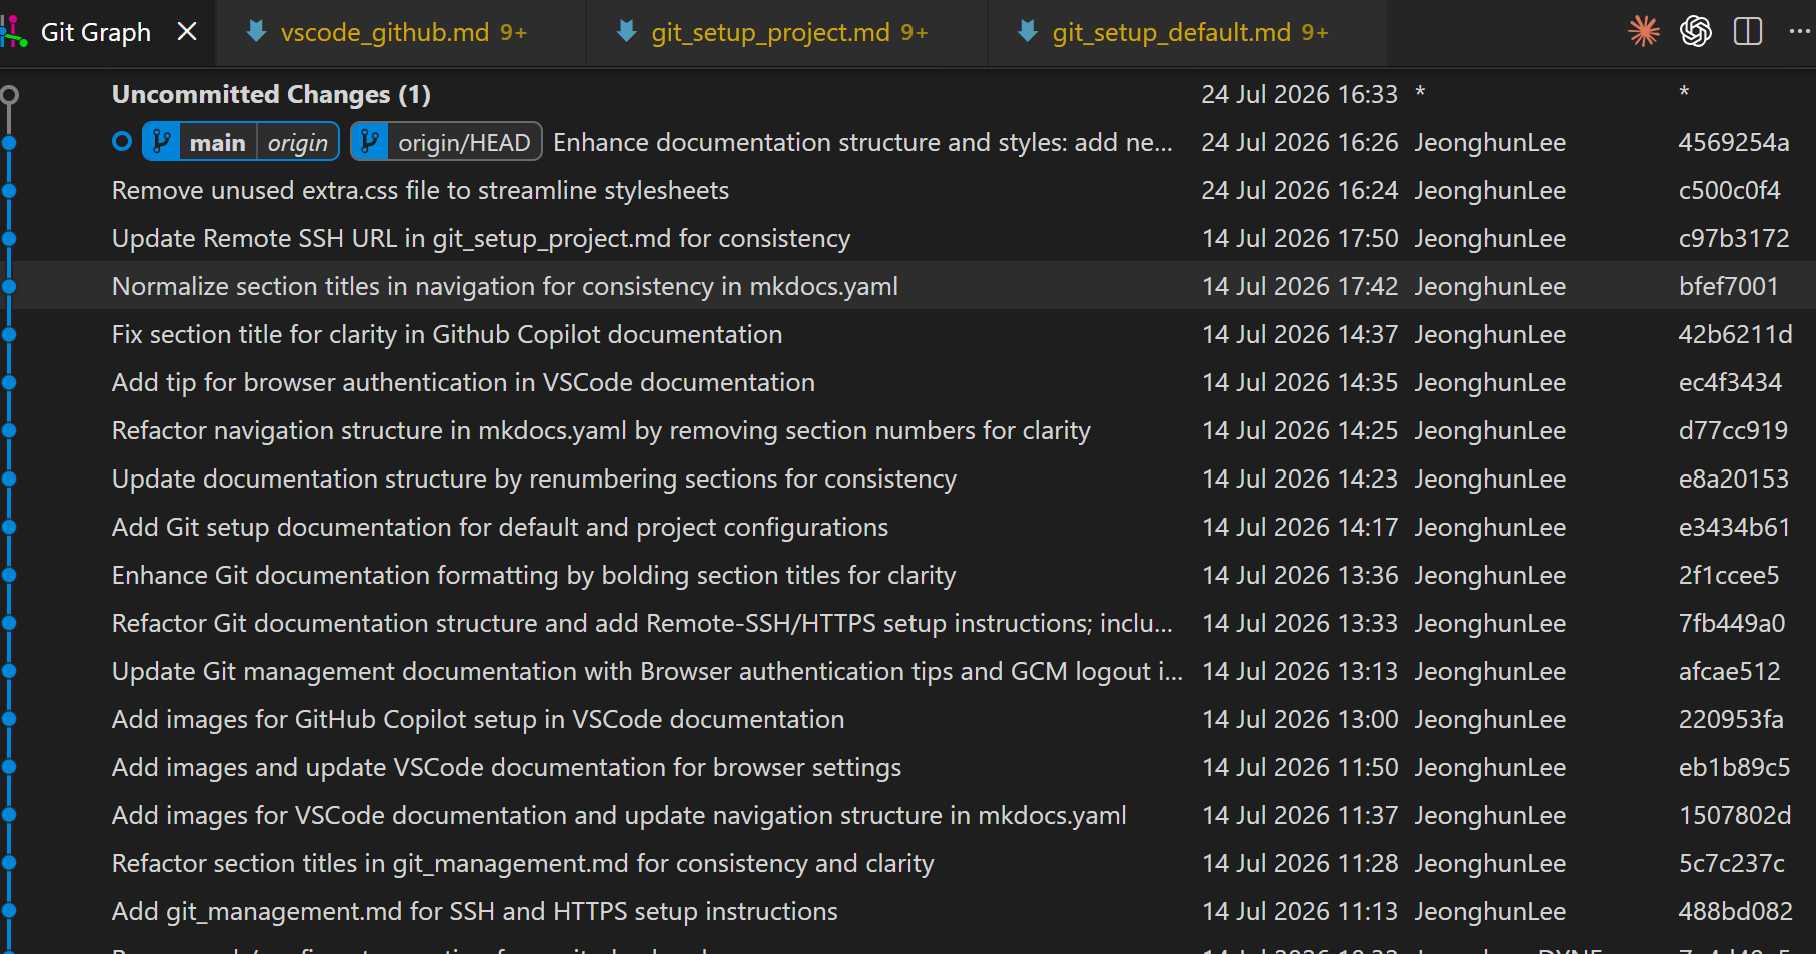
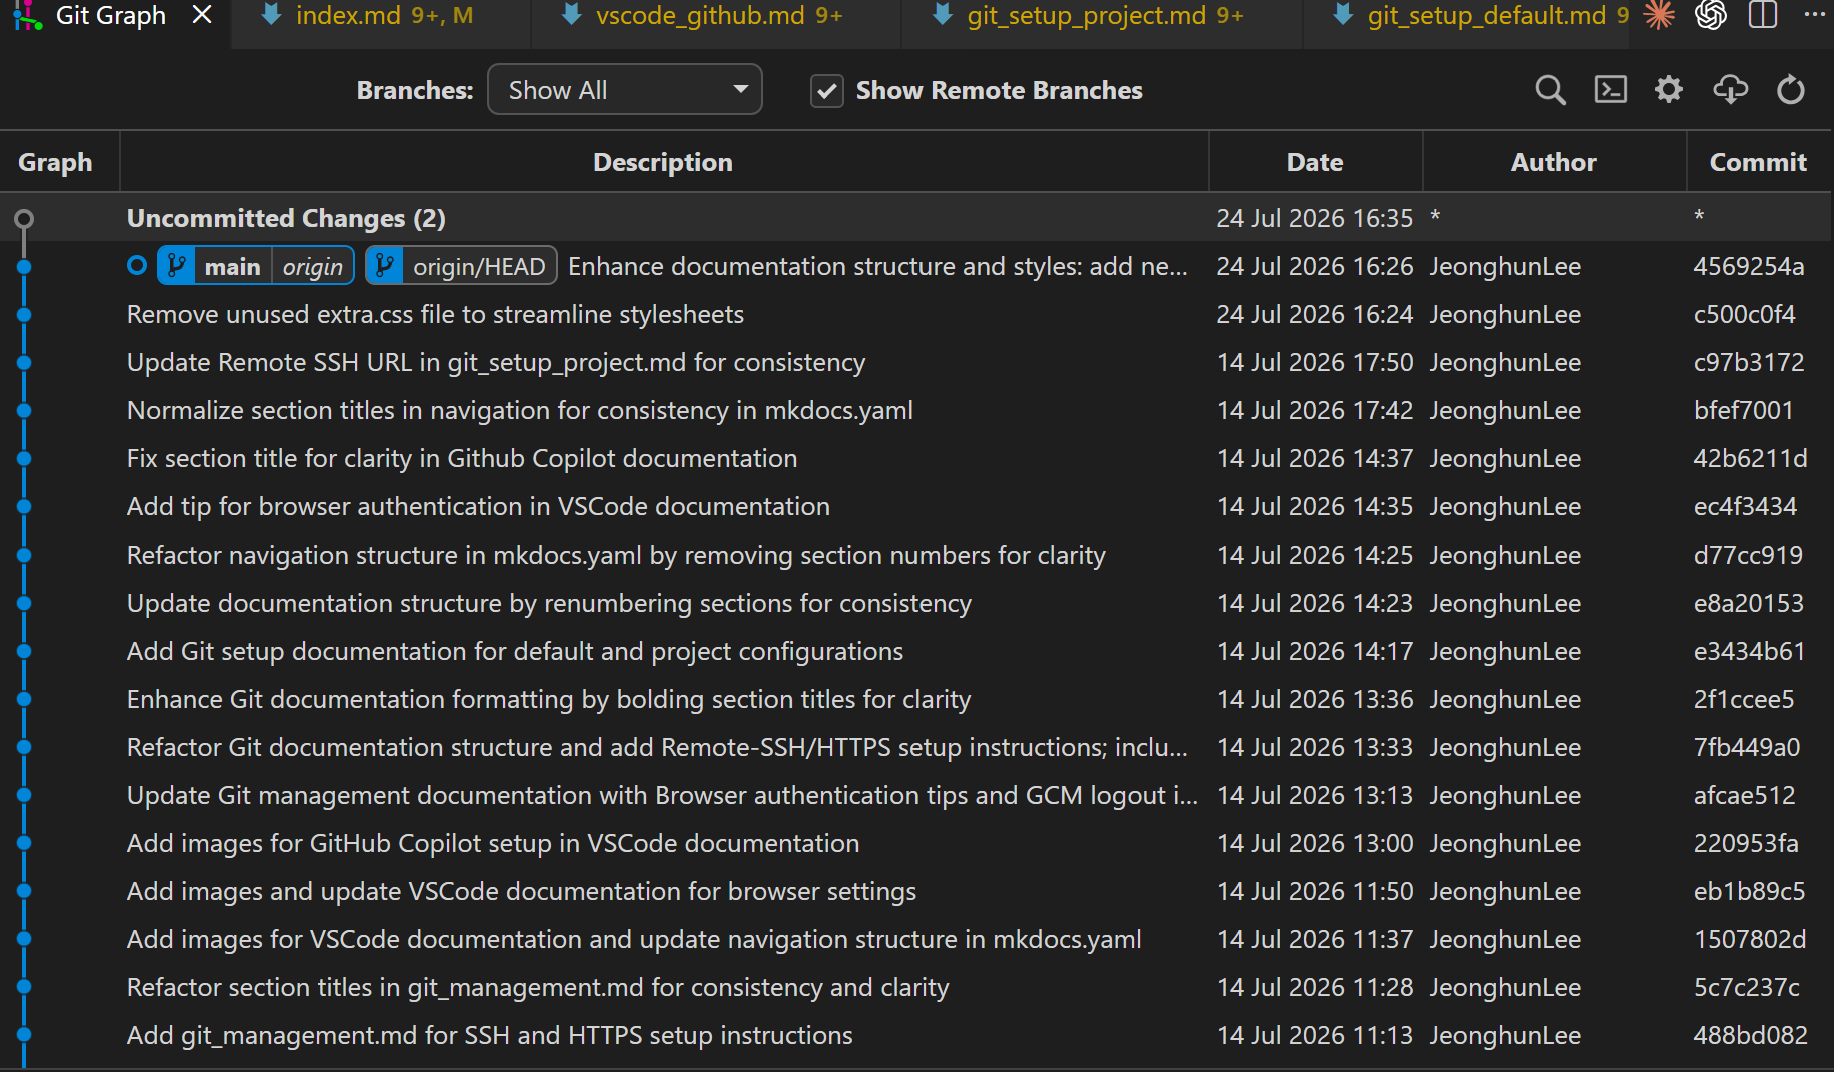
-
Git Graph Remote/Local
- Remote : orgin/main
- Local : main
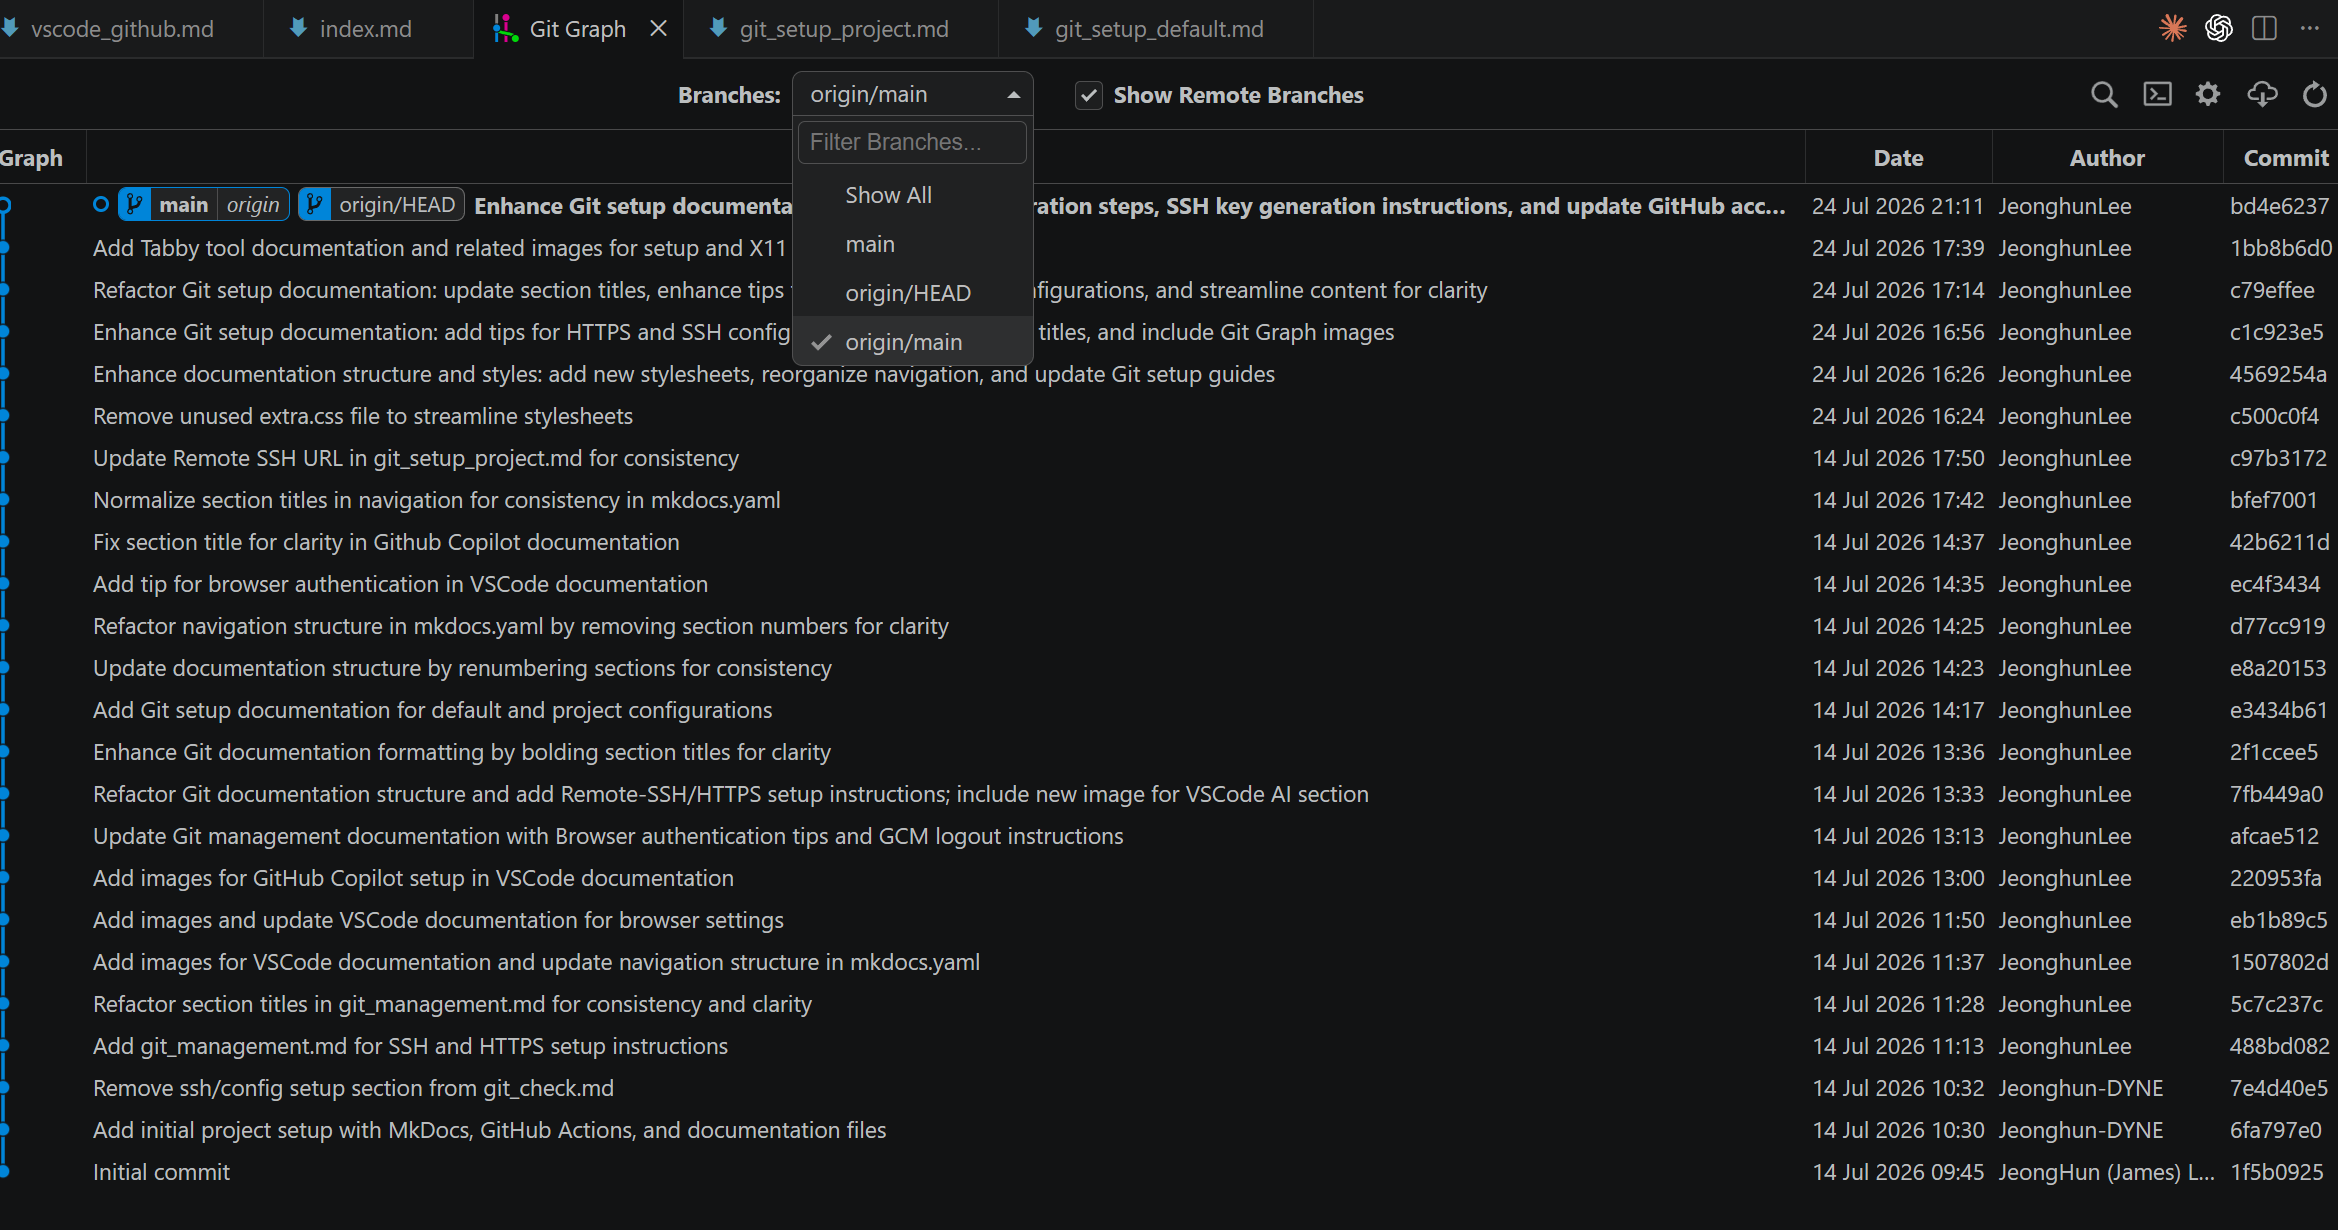
Go To Git Graph
Git History
- Git Graph 와 거의 동일
- Git History 의 기능이 거의 다 Git Graph 있음
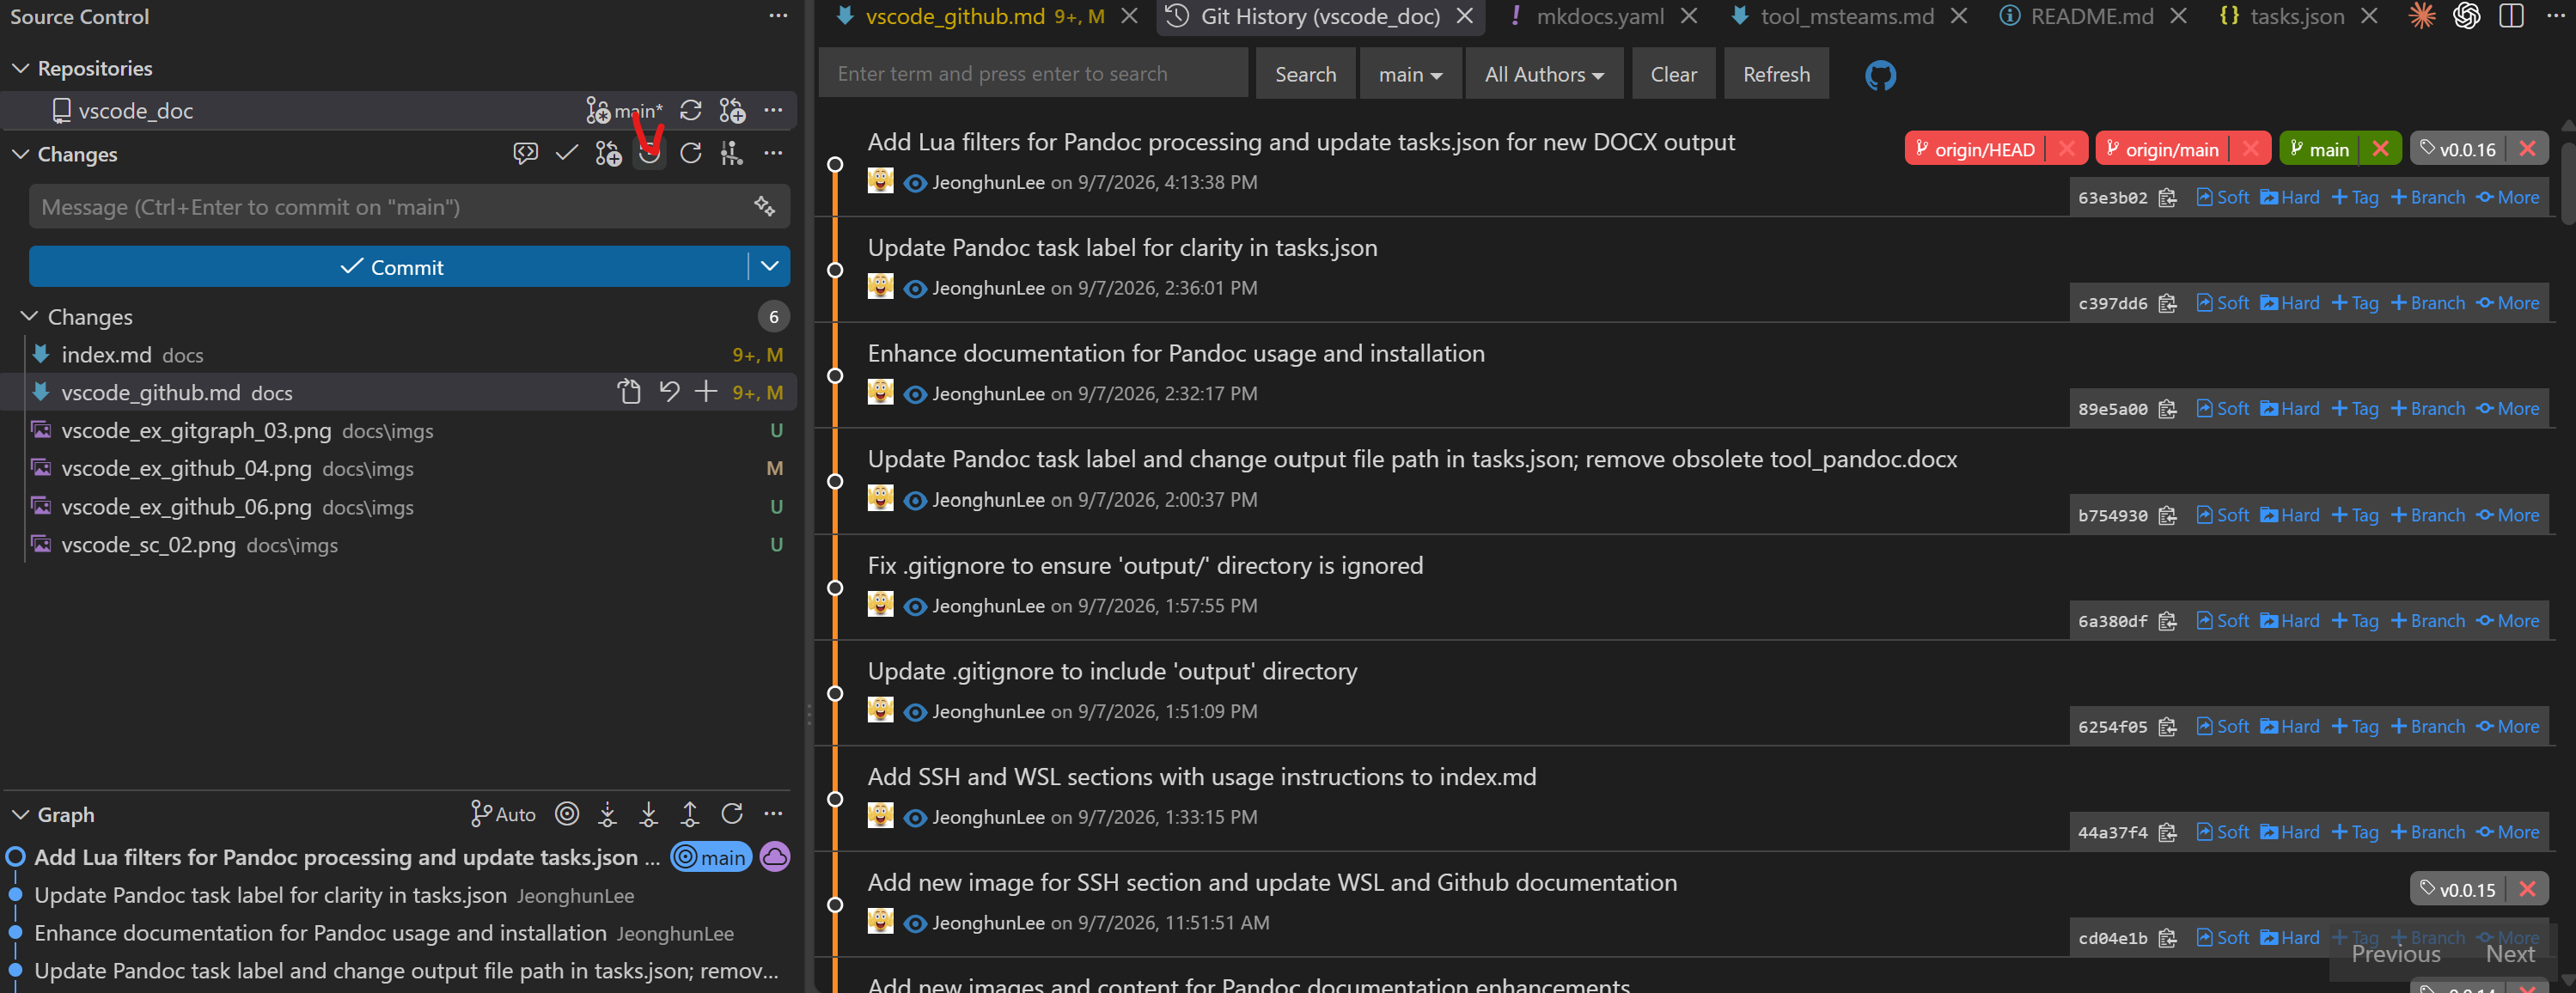
- Git History 의 기능이 거의 다 Git Graph 있음
Go To Git Graph
Github
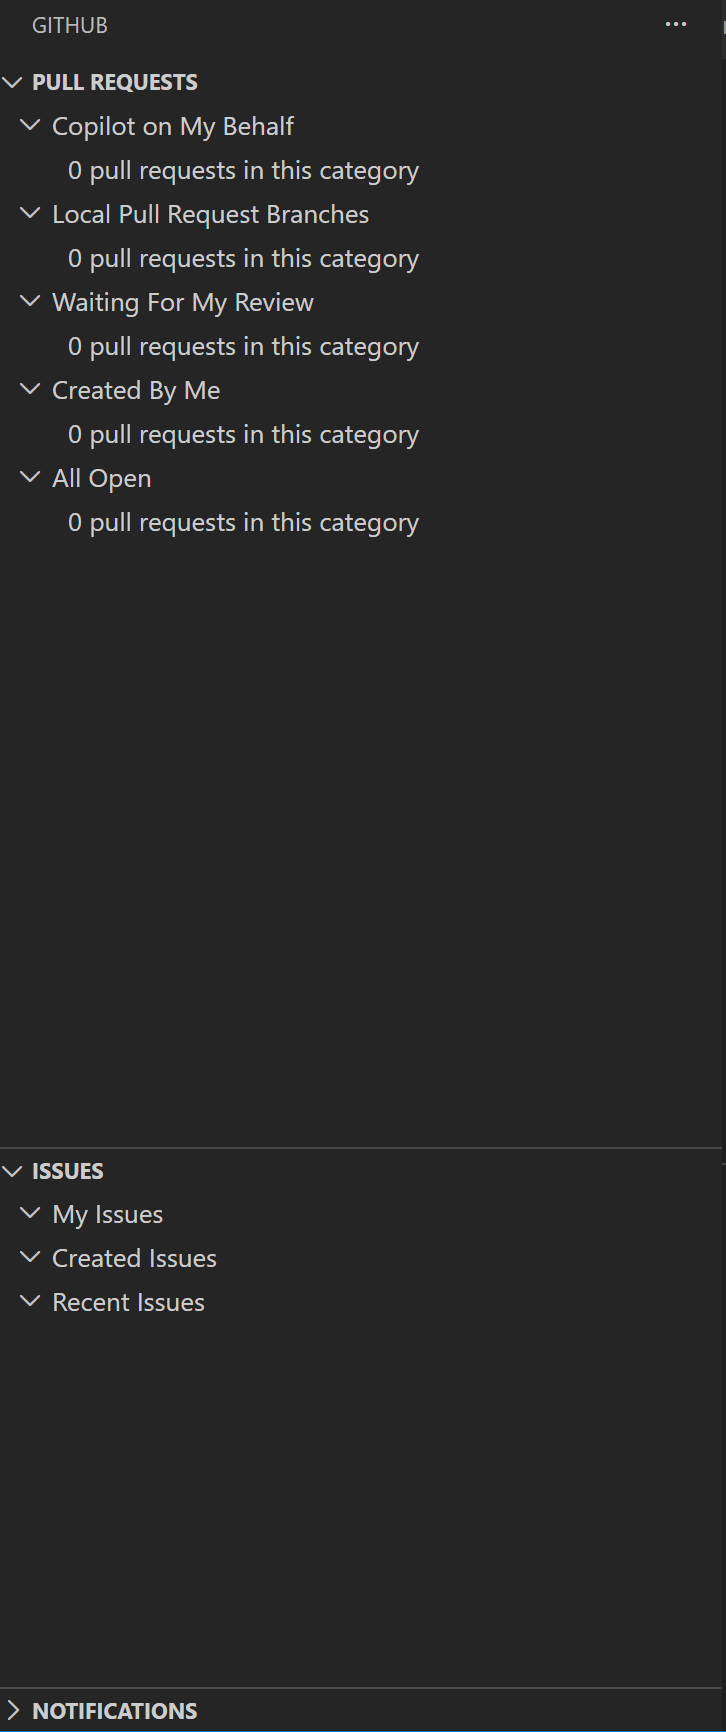
GitHub Pull Request/Issue
- Pull Request 연동
- Issue 연동
Github 인증확인
- Github Extension
VS Code에서 쉽게 사용가능한 Github 의 기능
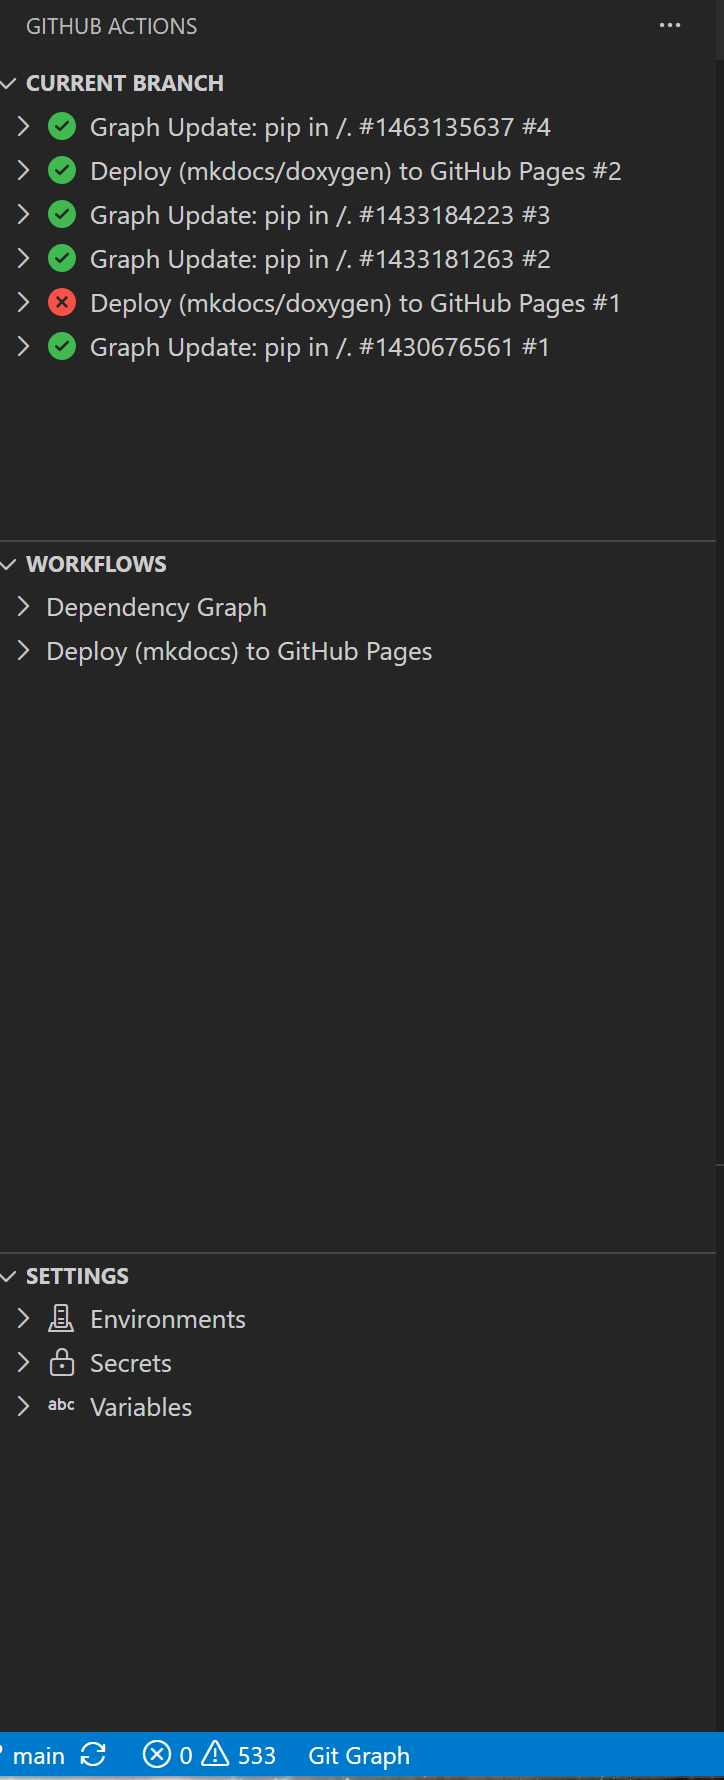
Github Action
- Github Action Extension
VS Code에서 쉽게 사용가능한 Github 의 기능
Github 인증 다중으로 변경
Continue
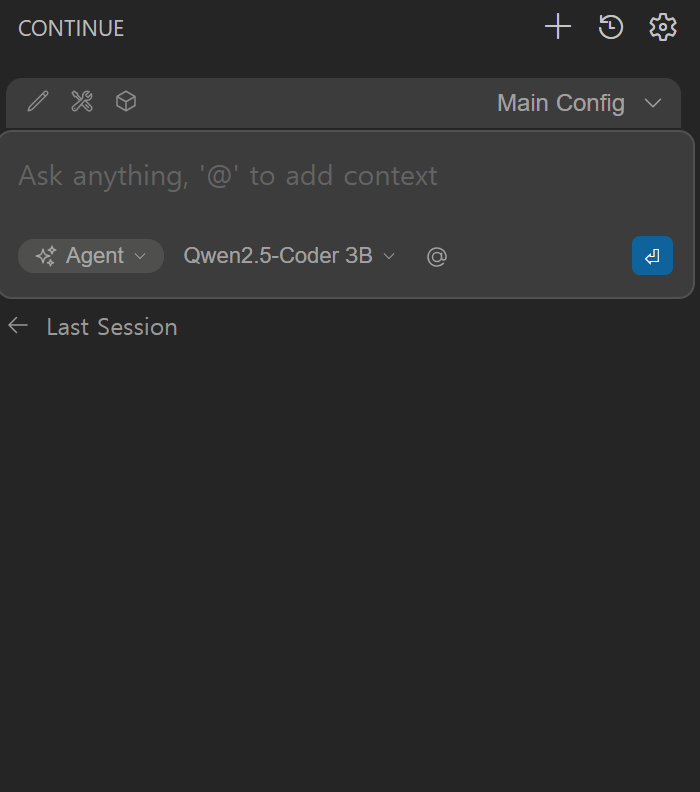
- Continue Extension
VS Code Extension Marketplace에서 검색하여 설치 가능
ollama 와 같이 내부 LLM을 사용가능한 VS Code의 Extension으로 아래와 같이 쉽게 설정
- ollama 설치
pull 각 원하는 LLM 설치> ollama list NAME ID SIZE MODIFIED nomic-embed-text:latest 0a109f422b47 274 MB 28 hours ago qwen2.5-coder:3b f72c60cabf62 1.9 GB 29 hours ago
- Continue Extension Config
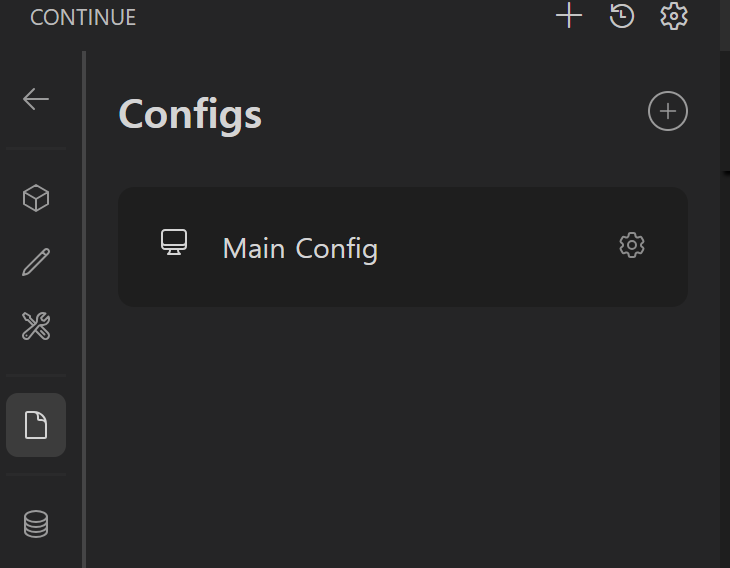
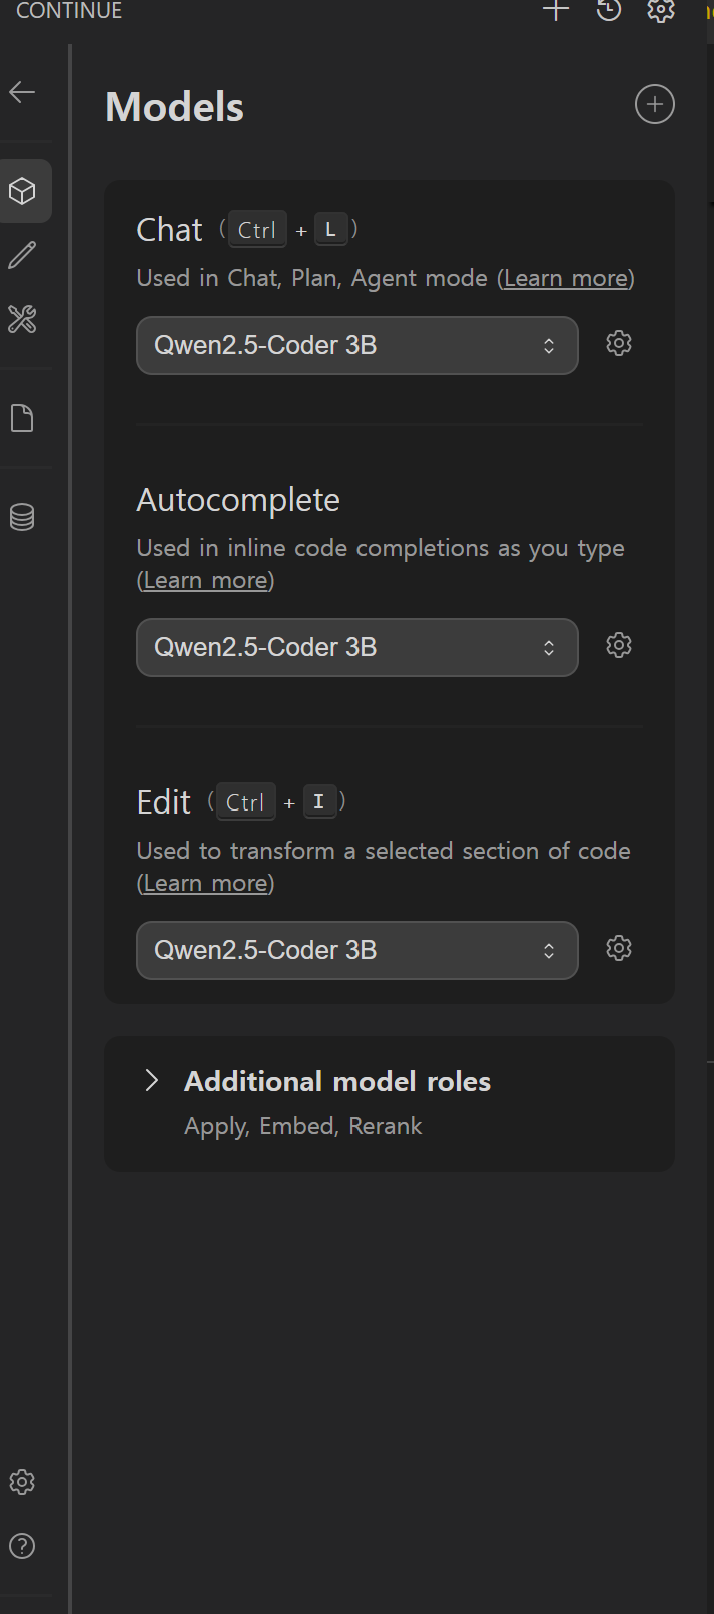
name: Main Config
version: 1.0.0
schema: v1
models:
  - name: Qwen2.5-Coder 3B
    provider: ollama
    model: qwen2.5-coder:3b
    roles:
      - chat
      - edit
      - apply
      - autocomplete

  - name: Nomic Embed
    provider: ollama
    model: nomic-embed-text:latest
    roles:
      - embed
- Continue Agent
Python
pytest
- pytest 를 이용하여 임베디드에서 TEST 프로그램 작성
- pytest Network 결합 및 Timer
- pytest H/W 및 C/C++ Libary 결합
- pytest salese Logic Anlayer 결합
- VSCode TEST
-
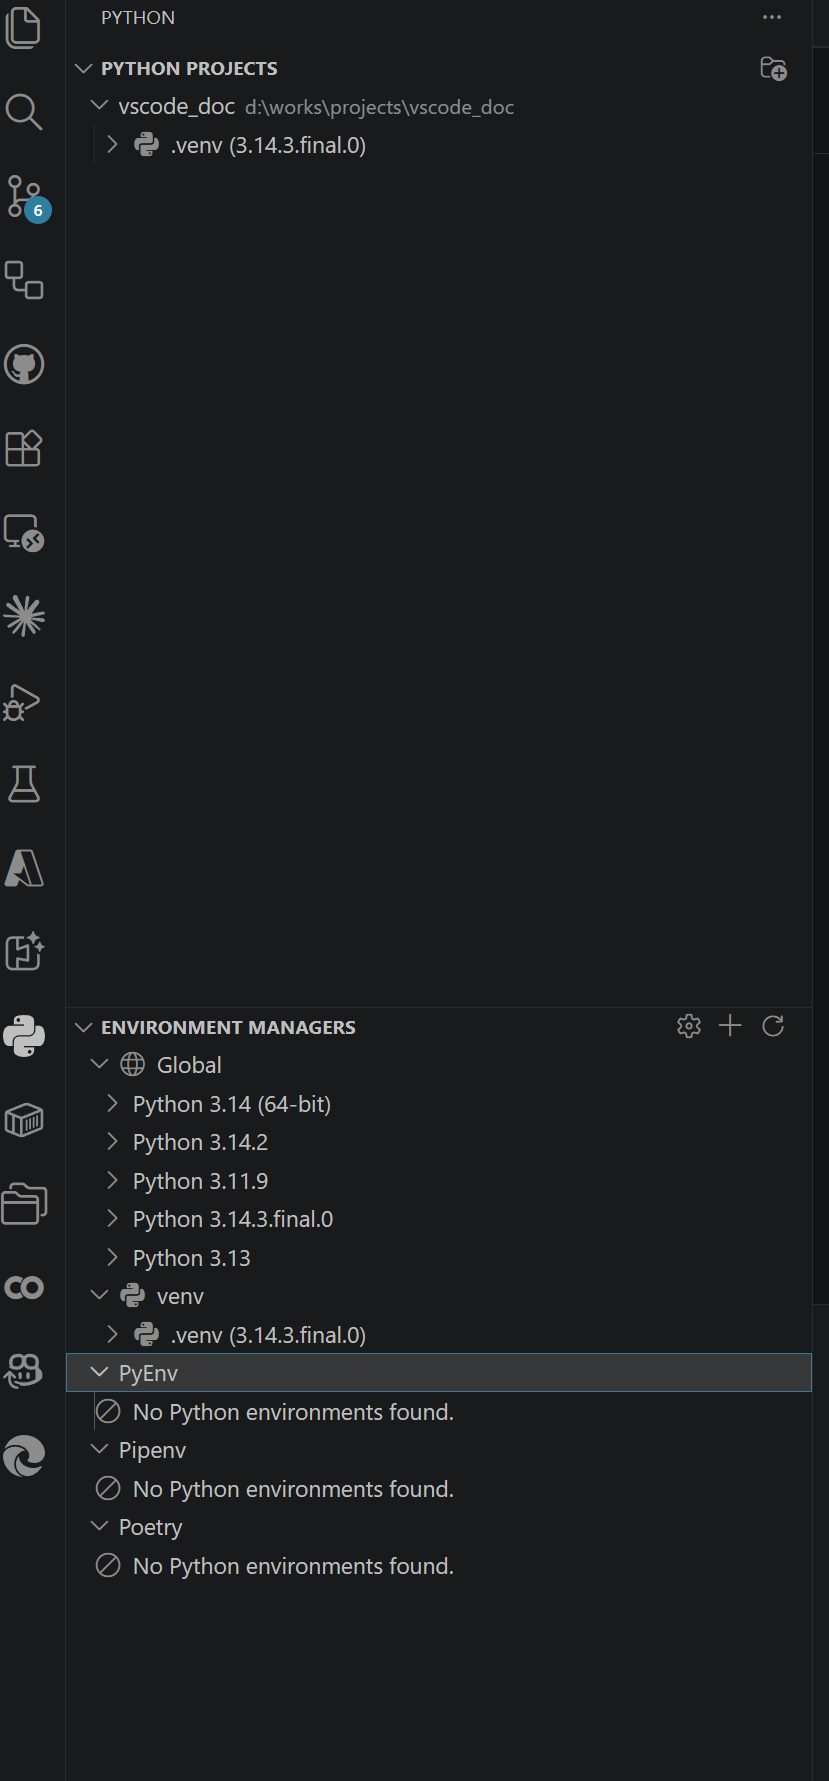
Python 관리
-
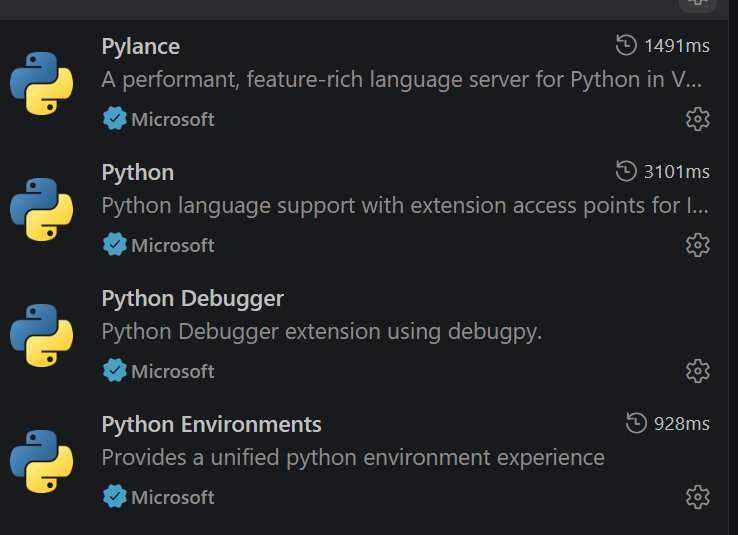
VS Code Extesion
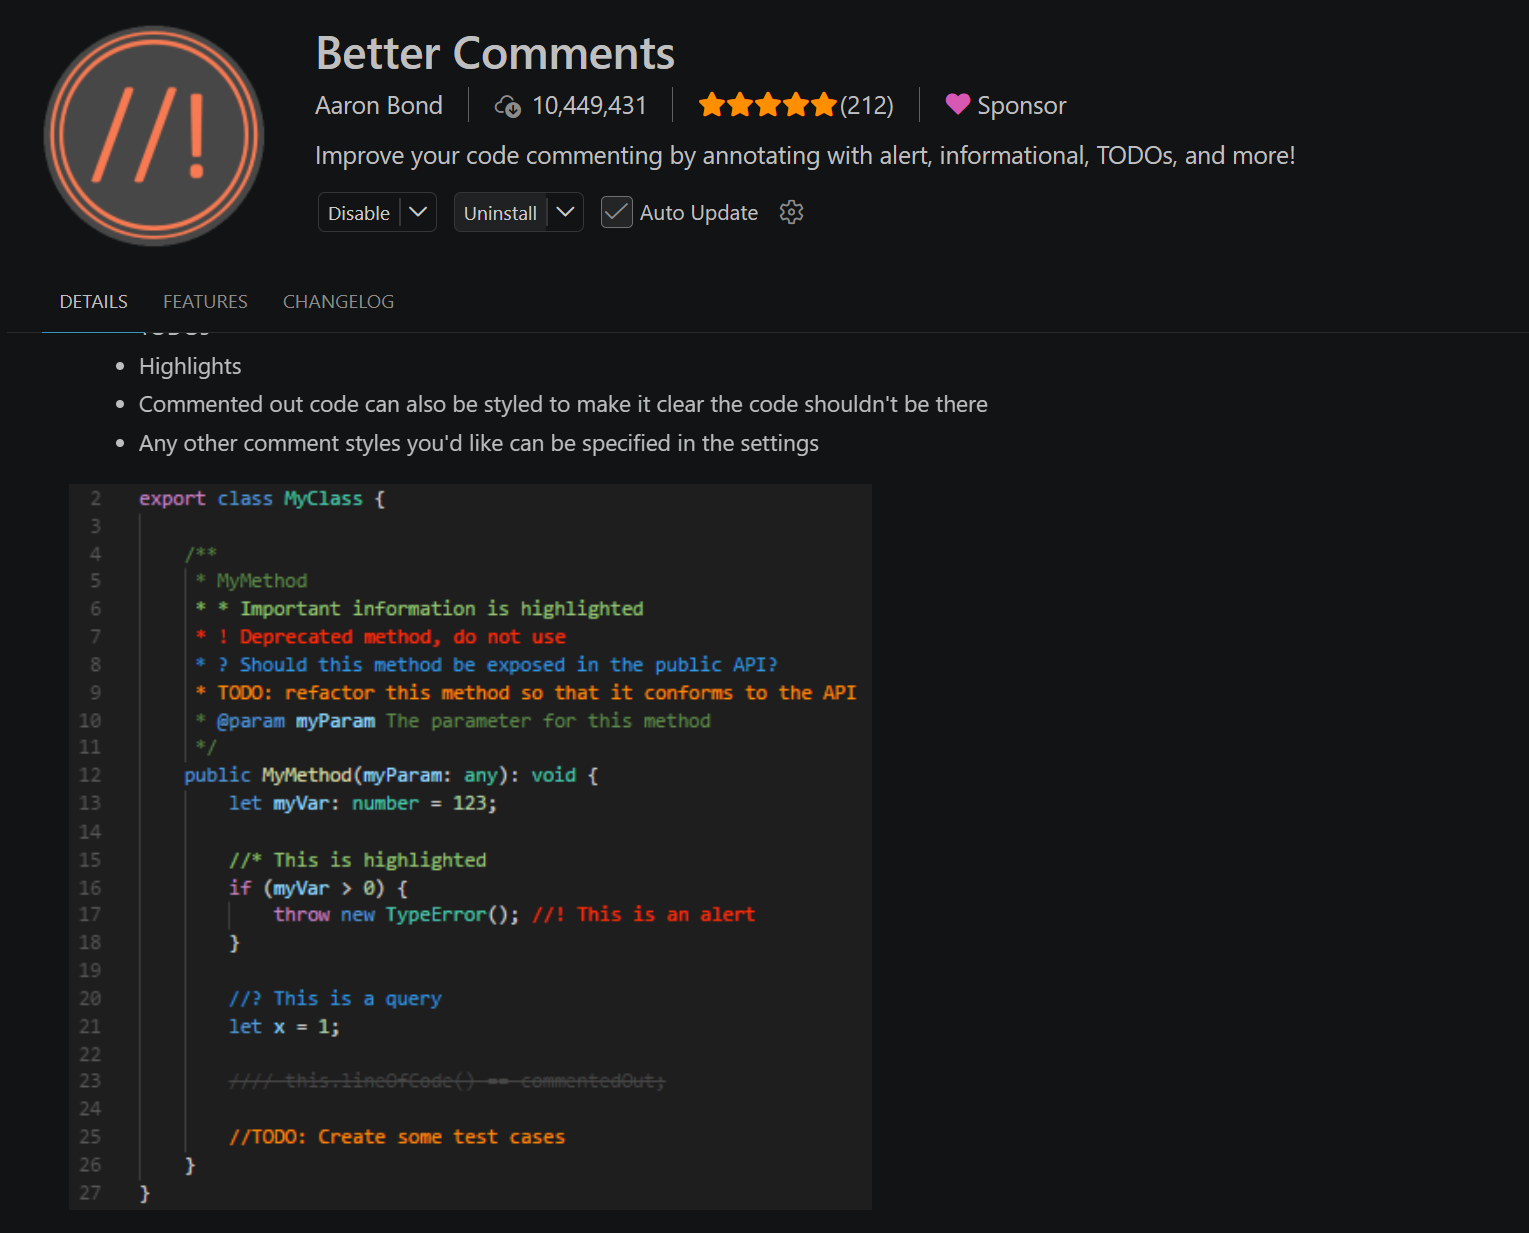
Better Comments
- C/C++ 주석 가독성
Jupyter and Mermaid
- Jupyter 관리 와 Mermaid View
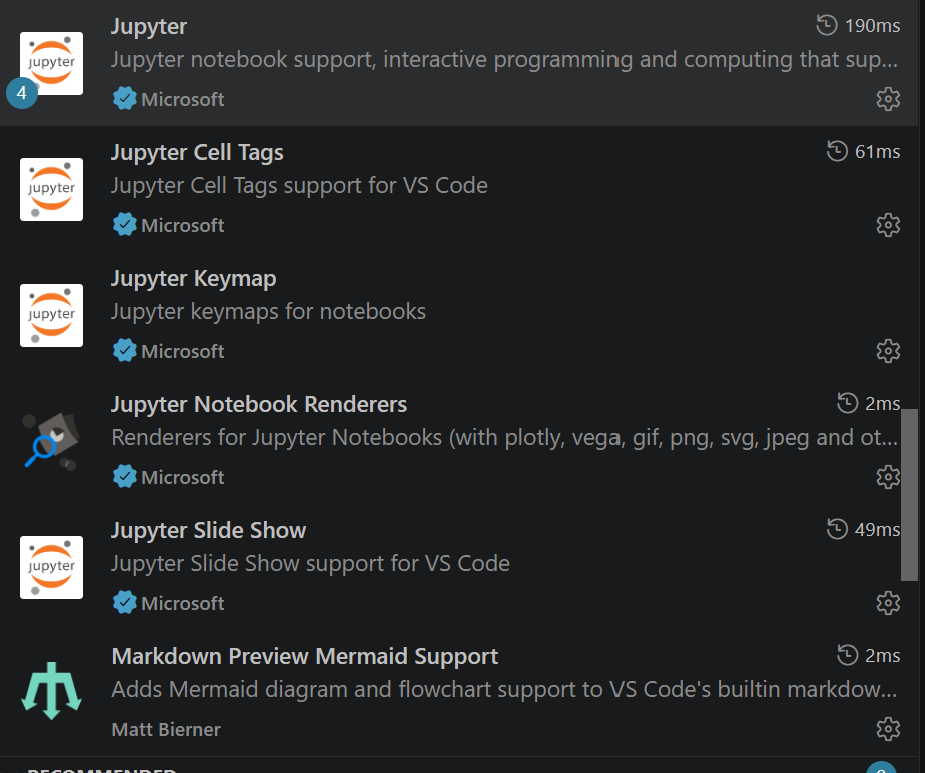
Google Colab
- Google Colab 사용
*.ipynb 파일
RST
- Sphinx 사용할 경우
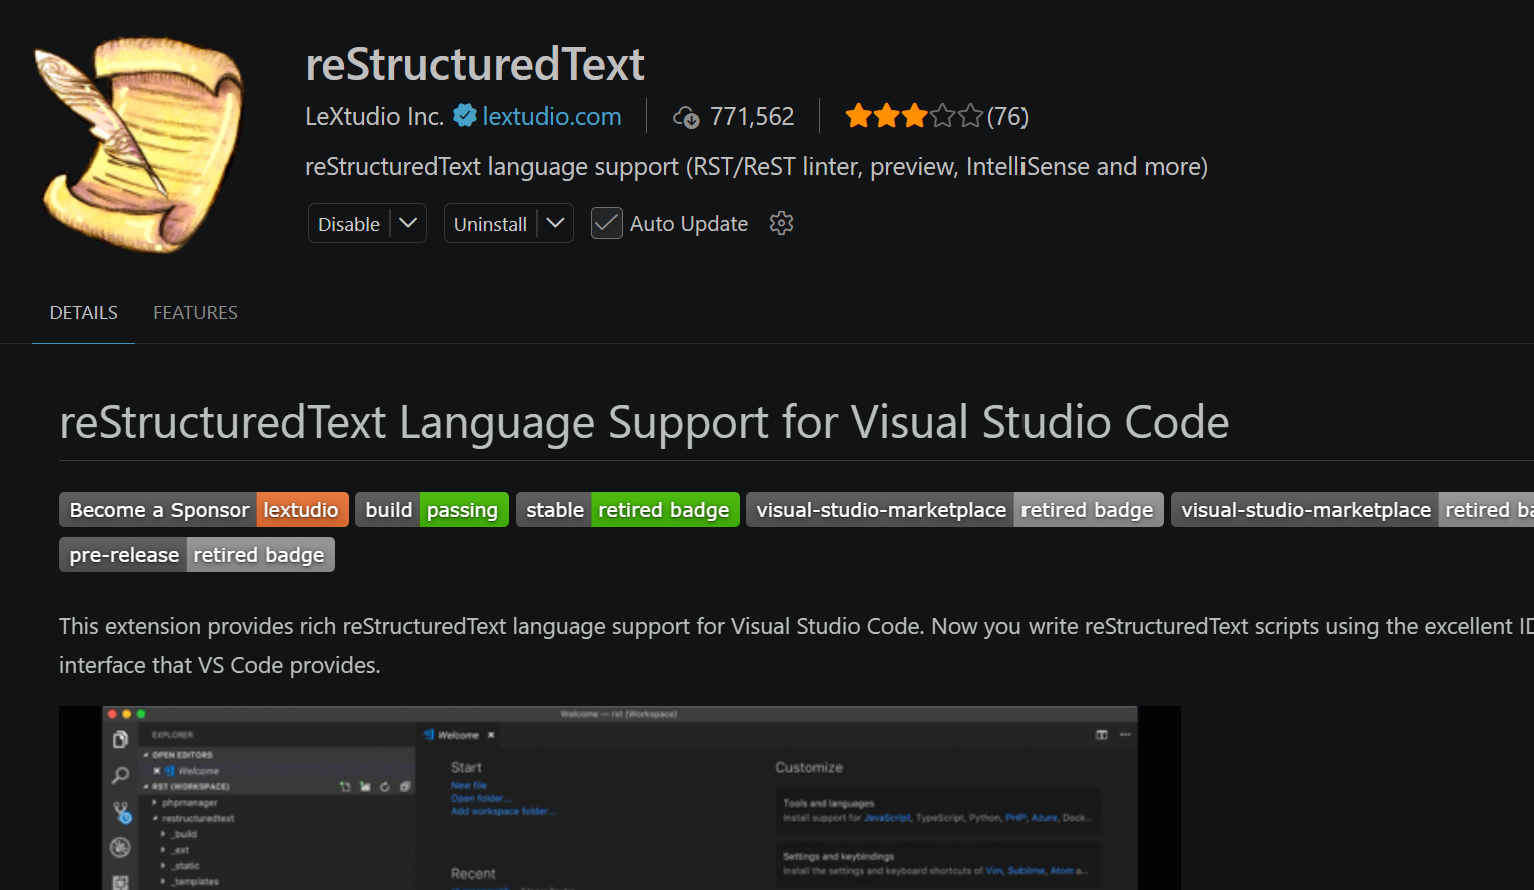
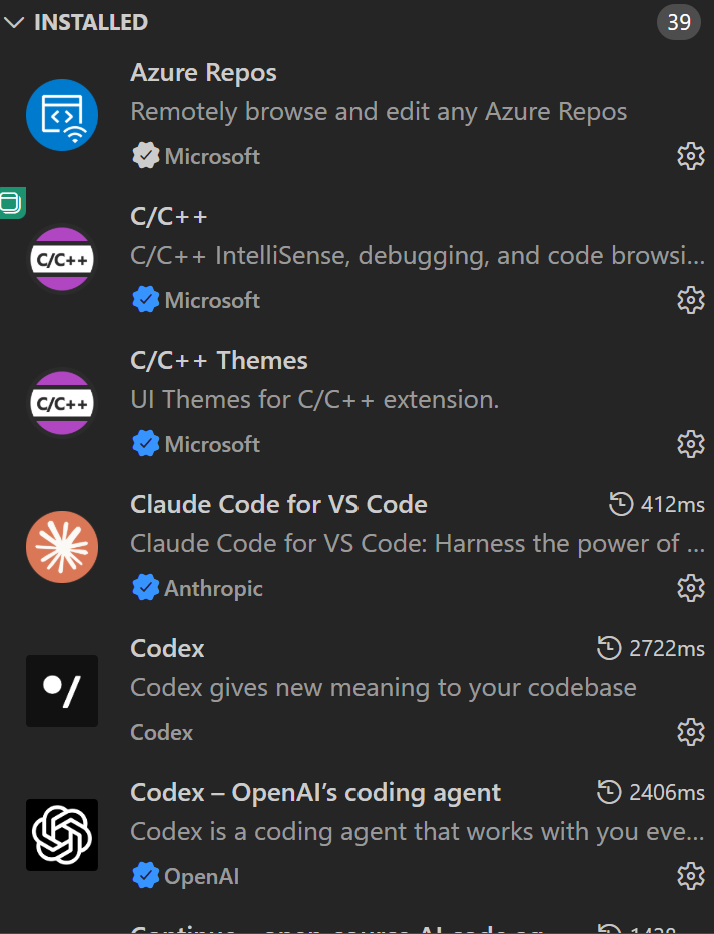
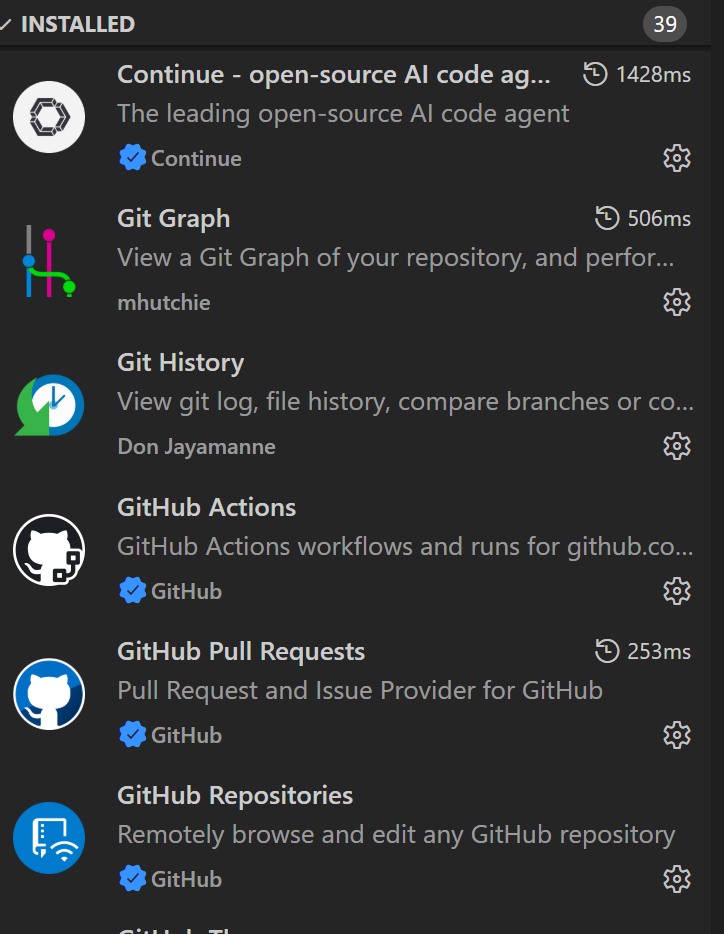
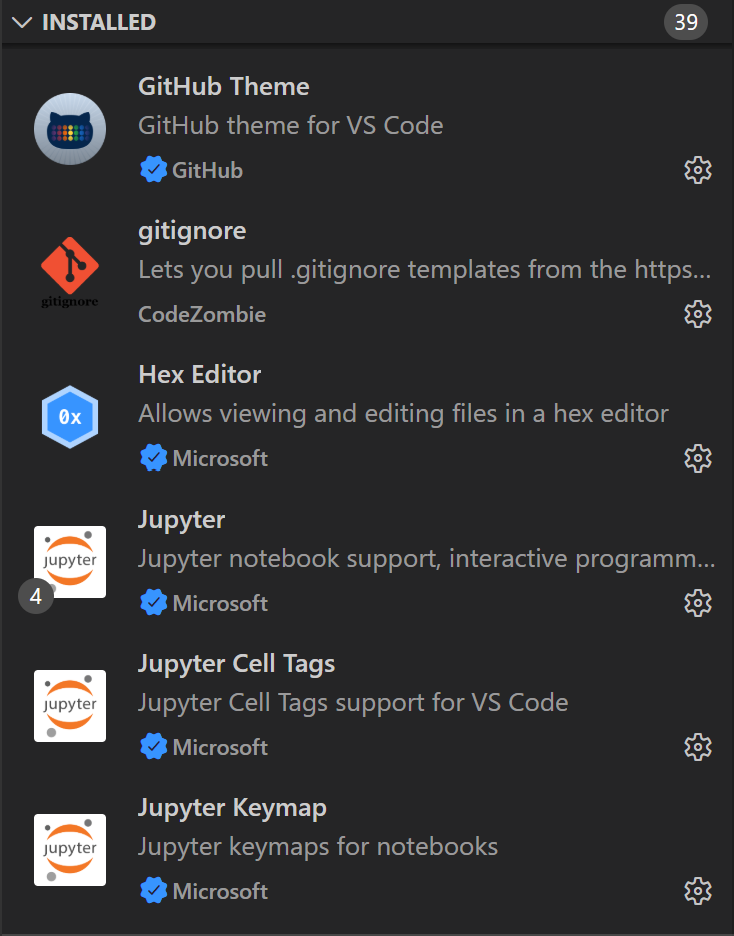
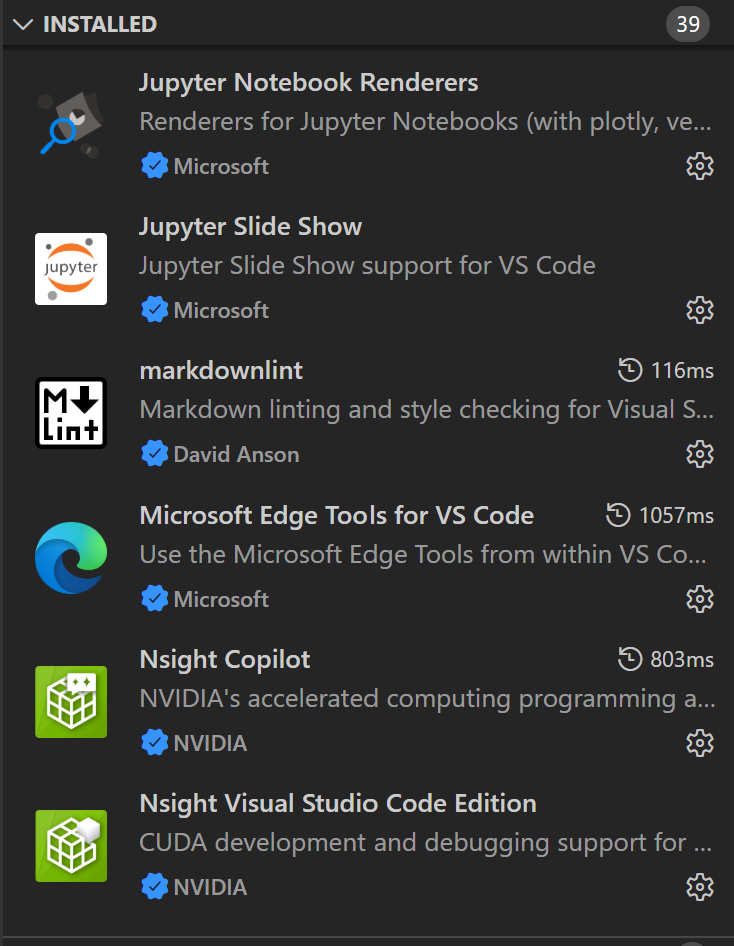
Check Extensions
VS Code에 설치되어진 Extensions 들을 확인하고 각 부분의 버전을 확인
Extensions A
- CMD in Window
VS Code에 설치되어진 Extensions
C:\Users\LeeJeongHun> code --list-extensions
alefragnani.project-manager
anthropic.claude-code
codexbuild.codex-build
codezombiech.gitignore
continue.continue
davidanson.vscode-markdownlint
donjayamanne.githistory
github.github-vscode-theme
github.remotehub
github.vscode-github-actions
github.vscode-pull-request-github
gruntfuggly.todo-tree
mhutchie.git-graph
ms-edgedevtools.vscode-edge-devtools
ms-python.debugpy
ms-python.python
ms-python.vscode-pylance
ms-python.vscode-python-envs
ms-toolsai.jupyter
ms-toolsai.jupyter-keymap
ms-toolsai.jupyter-renderers
ms-toolsai.vscode-jupyter-cell-tags
ms-toolsai.vscode-jupyter-slideshow
ms-vscode-remote.remote-ssh
ms-vscode-remote.remote-ssh-edit
ms-vscode-remote.remote-wsl
ms-vscode.azure-repos
ms-vscode.cpptools
ms-vscode.cpptools-themes
ms-vscode.hexeditor
ms-vscode.powershell
ms-vscode.remote-explorer
ms-vscode.remote-repositories
ms-vscode.vscode-serial-monitor
nvidia.nsight-copilot
nvidia.nsight-vscode-edition
openai.chatgpt
wayou.vscode-todo-highlight
ziyasal.vscode-open-in-github
- CMD in Window
VS Code에 설치되어진 Extensions 과 Version
C:\Users\LeeJeongHun>code --list-extensions --show-versions
alefragnani.project-manager@13.1.0
anthropic.claude-code@2.1.218
codexbuild.codex-build@0.5.7
codezombiech.gitignore@0.10.0
continue.continue@2.0.0
davidanson.vscode-markdownlint@0.61.2
donjayamanne.githistory@0.6.20
github.github-vscode-theme@6.3.5
github.remotehub@0.64.0
github.vscode-github-actions@0.32.3
github.vscode-pull-request-github@0.160.0
gruntfuggly.todo-tree@0.0.226
mhutchie.git-graph@1.30.0
ms-edgedevtools.vscode-edge-devtools@2.1.10
ms-python.debugpy@2026.6.0
ms-python.python@2026.4.0
ms-python.vscode-pylance@2026.3.1
ms-python.vscode-python-envs@1.36.0
ms-toolsai.jupyter@2025.9.1
ms-toolsai.jupyter-keymap@1.1.2
ms-toolsai.jupyter-renderers@1.3.0
ms-toolsai.vscode-jupyter-cell-tags@0.1.9
ms-toolsai.vscode-jupyter-slideshow@0.1.6
ms-vscode-remote.remote-ssh@0.124.0
ms-vscode-remote.remote-ssh-edit@0.87.0
ms-vscode-remote.remote-wsl@0.104.3
ms-vscode.azure-repos@0.40.0
ms-vscode.cpptools@1.33.4
ms-vscode.cpptools-themes@2.0.0
ms-vscode.hexeditor@1.11.1
ms-vscode.powershell@2025.4.0
ms-vscode.remote-explorer@0.5.0
ms-vscode.remote-repositories@0.42.0
ms-vscode.vscode-serial-monitor@0.13.251128001
nvidia.nsight-copilot@2026.1.19
nvidia.nsight-vscode-edition@2025.1.36067579
openai.chatgpt@26.721.30844
wayou.vscode-todo-highlight@1.0.5
ziyasal.vscode-open-in-github@1.3.6
Extensions B
- CMD in Window
VS Code에 설치되어진 Extensions 과 Version
>code --list-extensions --show-versions
aaron-bond.better-comments@3.0.2
anthropic.claude-code@2.1.218
bierner.markdown-mermaid@1.32.1
chekweitan.compare-view@0.14.1
christian-kohler.npm-intellisense@1.4.5
codezombiech.gitignore@0.10.0
donjayamanne.githistory@0.6.20
eamodio.gitlens@18.3.0
espressif.esp-idf-extension@2.1.0
espressif.esp-idf-web@0.0.4
github.codespaces@1.18.15
github.github-vscode-theme@6.3.5
github.remotehub@0.64.0
github.vscode-github-actions@0.32.3
github.vscode-pull-request-github@0.160.0
google.colab@0.8.1
lextudio.restructuredtext@190.4.12
mhutchie.git-graph@1.30.0
moshfeu.compare-folders@0.30.0
ms-azuretools.vscode-azure-github-copilot@1.0.209
ms-azuretools.vscode-azure-mcp-server@2.0.46
ms-azuretools.vscode-azureresourcegroups@0.12.7
ms-azuretools.vscode-containers@2.4.5
ms-edgedevtools.vscode-edge-devtools@2.1.10
ms-python.debugpy@2026.6.0
ms-python.python@2026.4.0
ms-python.vscode-pylance@2026.3.1
ms-python.vscode-python-envs@1.36.0
ms-toolsai.jupyter@2025.9.1
ms-toolsai.jupyter-keymap@1.1.2
ms-toolsai.jupyter-renderers@1.3.0
ms-toolsai.vscode-jupyter-cell-tags@0.1.9
ms-toolsai.vscode-jupyter-slideshow@0.1.6
ms-vscode-remote.remote-containers@0.466.0
ms-vscode.azure-repos@0.40.0
ms-vscode.cmake-tools@1.23.52
ms-vscode.cpp-devtools@0.5.13
ms-vscode.cpptools@1.32.2
ms-vscode.cpptools-extension-pack@1.5.1
ms-vscode.cpptools-themes@2.0.0
ms-vscode.remote-repositories@0.42.0
ms-vscode.vscode-github-issue-notebooks@0.0.134
ms-windows-ai-studio.windows-ai-studio@1.6.5
openai.chatgpt@26.5721.30844
vscjava.migrate-java-to-azure@1.22.0
Extensions Functions
- Ctrl + Shift +p
각 전체기능을 쉽게 검색 및 찾기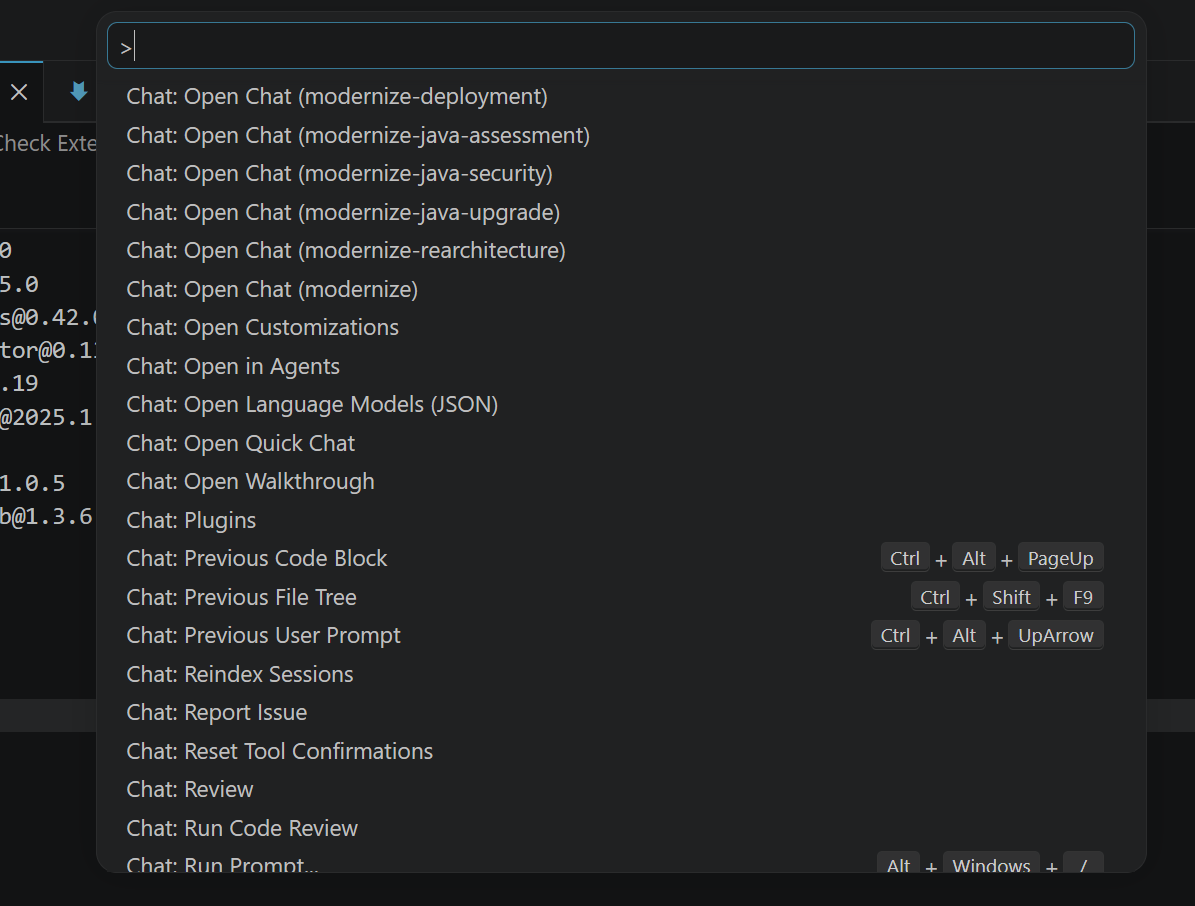
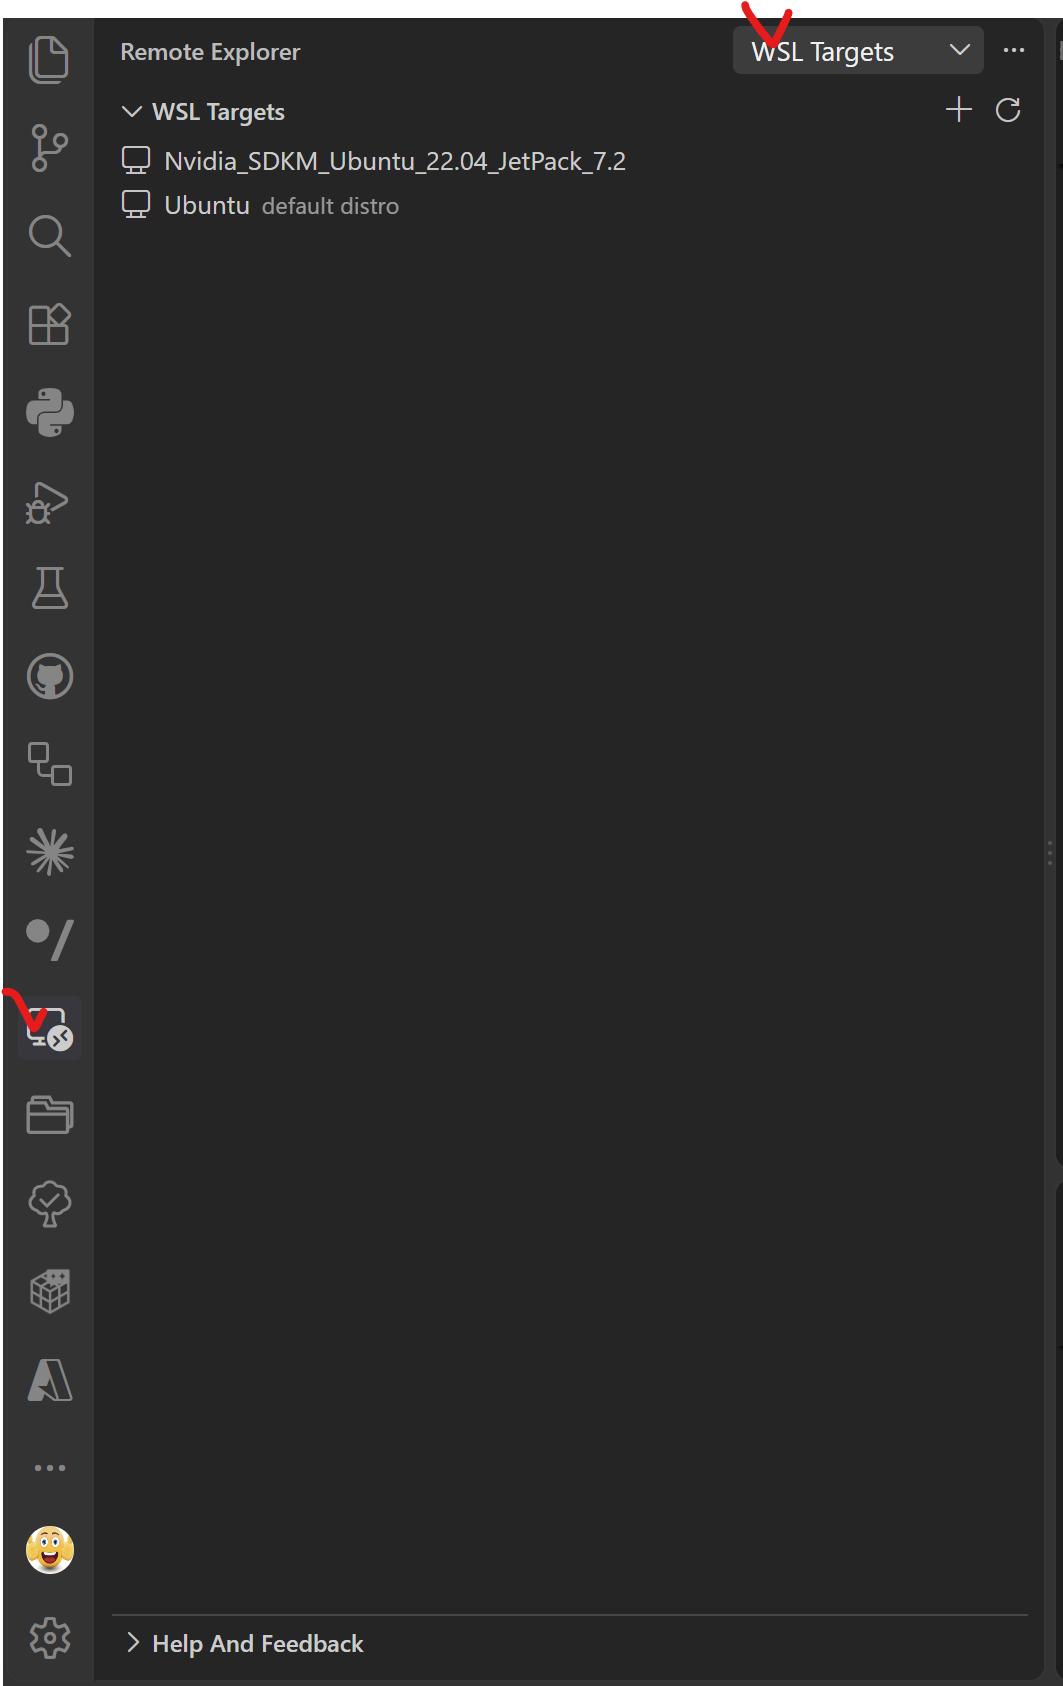
VSCode Remote Explore
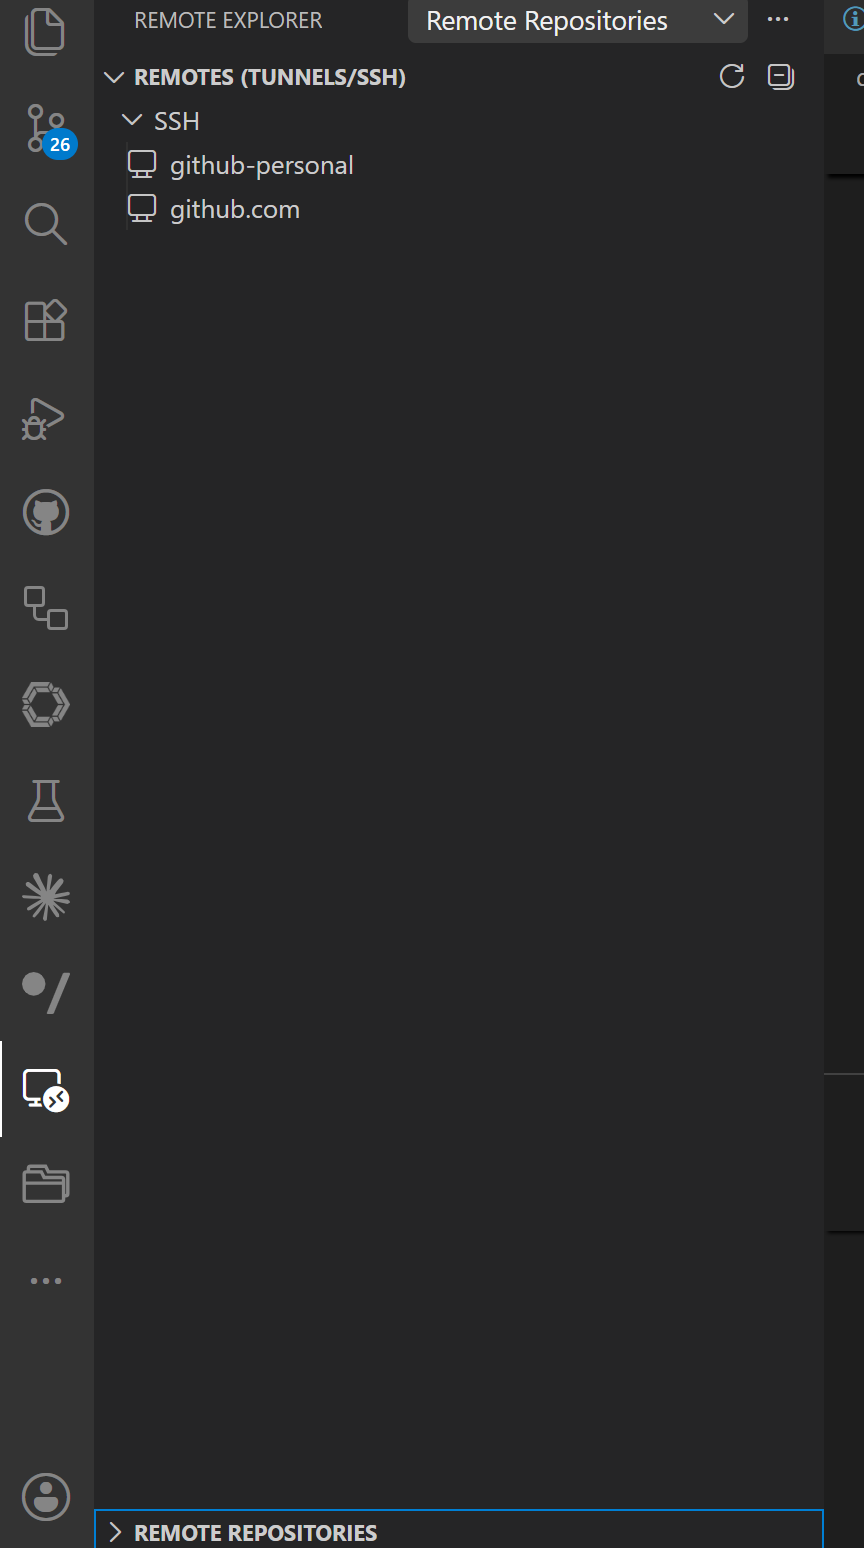
SSH 설정
- SSH 설정기반으로 확인 가능
- SSH 기반의 설정의 Repository 파악
- WSL 도 파악
Git 설정확인 필요
- Remote 설정 확인 (여기 설정과 실제 Git 설정이 다를 수 있음)
- Git Local 확인
- 2개의 계정 SSH Config B
https://code.visualstudio.com/docs/remote/remote-overview
SSH
VS Code에서 SSH로 연결한 다음 각 Diretory를 Project file로 읽어서 진행 개발
SSH
- SSH Server에 따라 OS 변경이 가능
- SSH 기반으로 원격 Repository 이용
- SSH Server 추가 id@192.168.1.1
- PW 입력
WSL
VS Code에서 WSL로 연결한 다음 각 Diretory를 Project file로 읽어서 진행 개발
SSH
- WSL에 따라 Linux 변경이 가능
VSCode Testing
- VSCode Testing
https://code.visualstudio.com/docs/debugtest/testing https://code.visualstudio.com/docs/python/testing
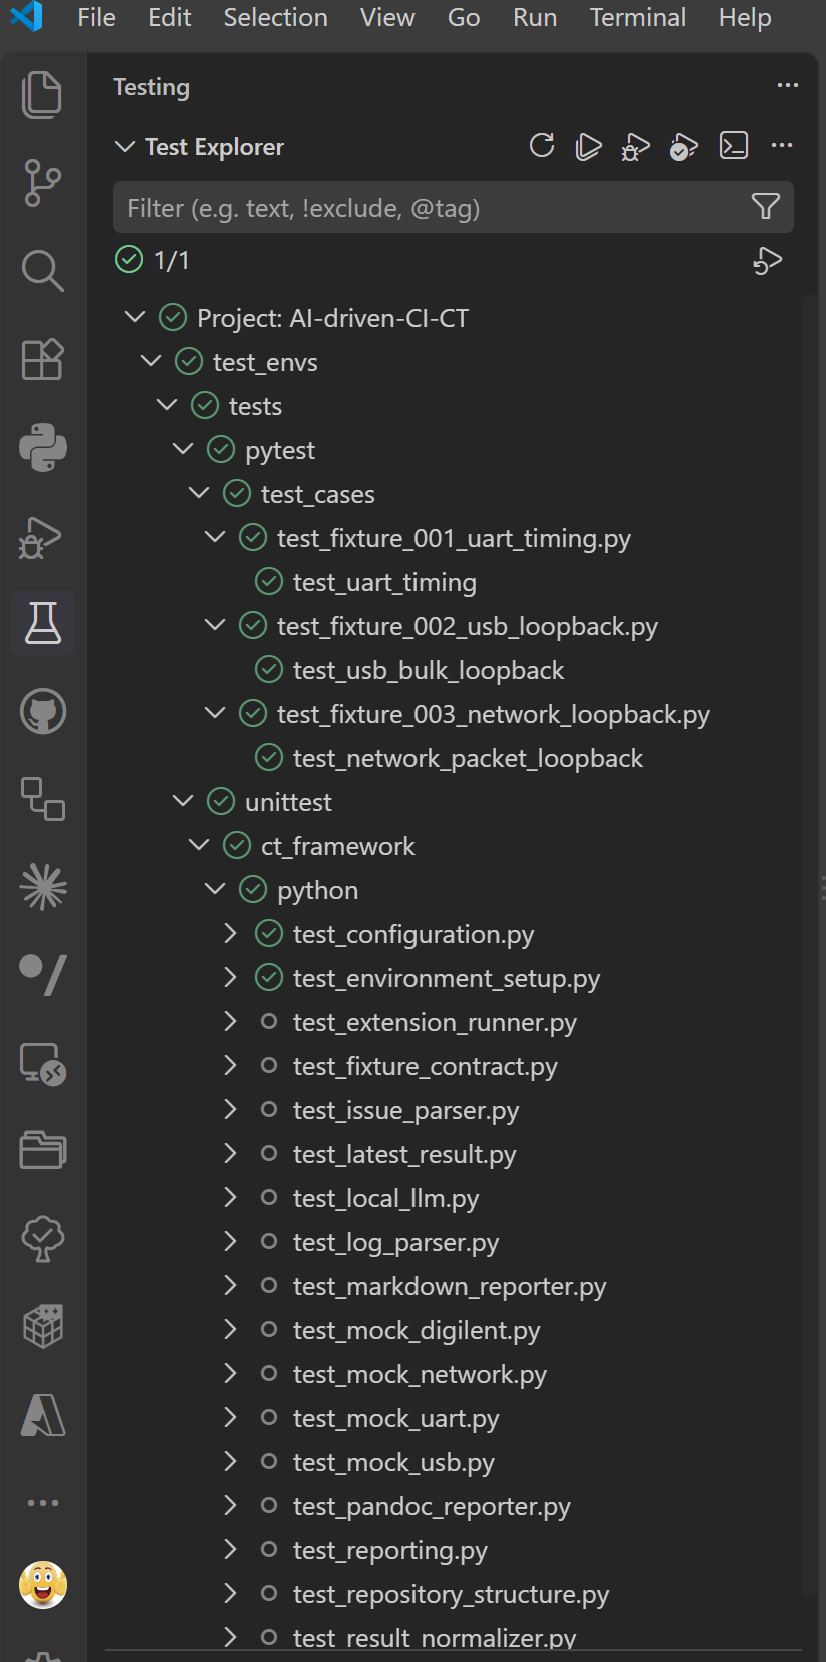
- AI-driven-CI-CT
AI-driven-CI-CT
Project는 Pytest 와 Unittest 기반으로 CI/CT 즉 TEST 자동화 Project이다.
아래에 언급되어진 다양한 Pytest 를 Fixture기반으로 각 Testcase를 구성한 다음
이 다양한 TEST Result를 LLM 분석하여 자동으로 이를 Report 해주는 시스템이다.
Go to AI-Driven CI/CT
- Python TEST
- pytest : 대부분 임베디드에서 많이 사용
- Saleae 와 같이 사용도 가능하며 C/C++ TEST도 가능
- pytest 와 같이 사용 및 matlab 도 같이 가능
- Saleae Logic Analyer 같이 사용가능
- Digilent 의 Analog Discovery 같이 사용가능
- Saleae 와 같이 사용도 가능하며 C/C++ TEST도 가능
- python unittest : 임베디드 에서 거의 사용안할 거라고 봄
- pytest : 대부분 임베디드에서 많이 사용
setting.json
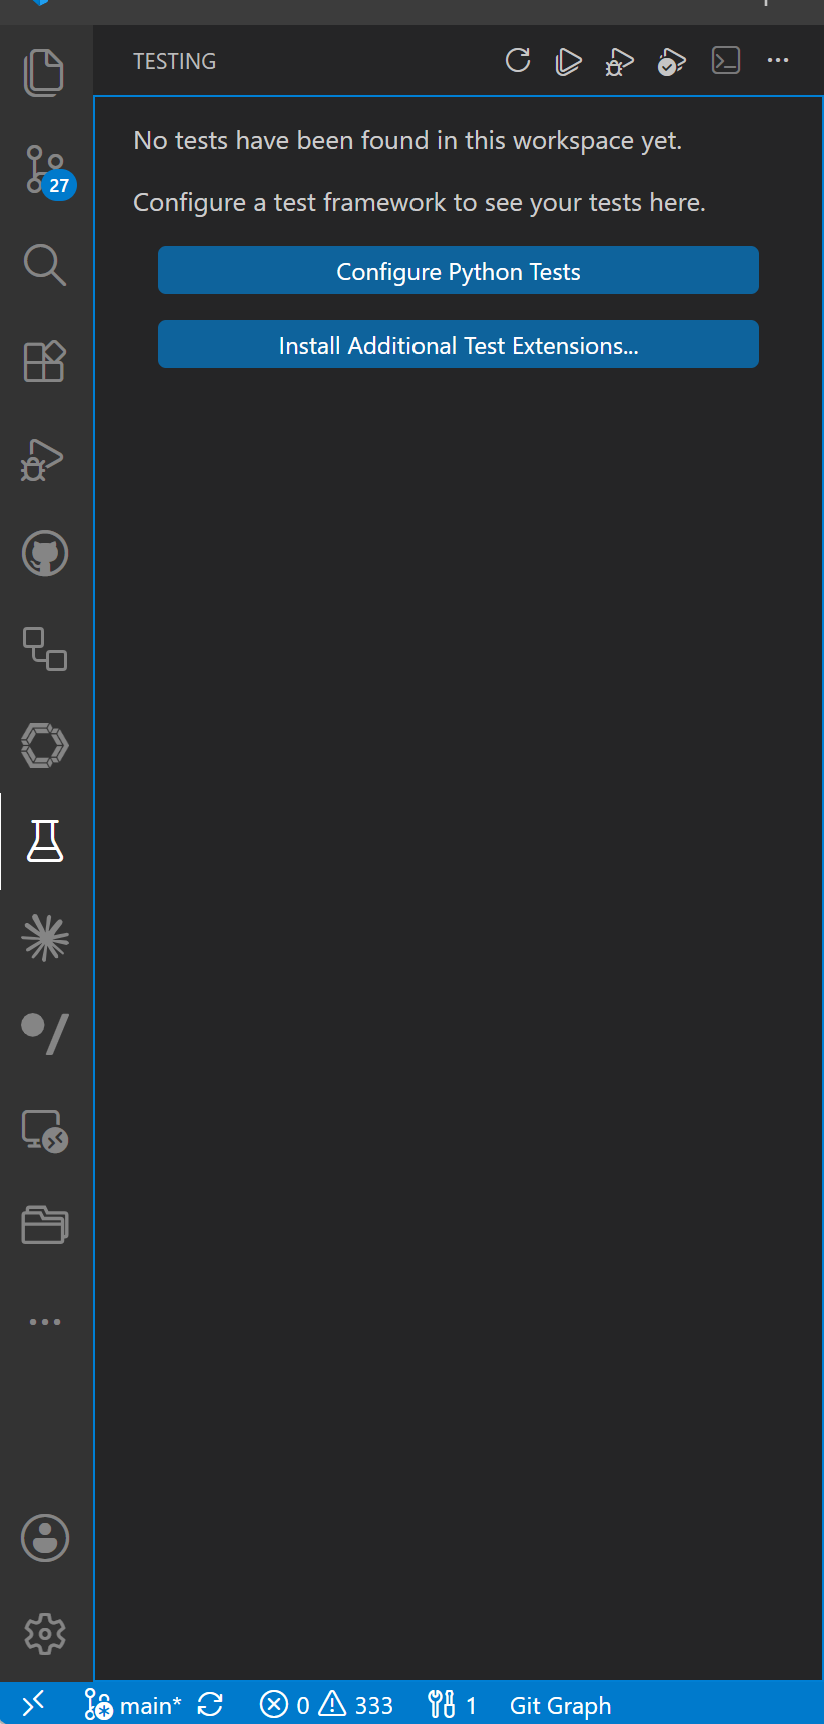
- VSCode Testing for Python
Python 기반으로 , VSCode Testing 설정 아래와 같이 가능하다.
https://code.visualstudio.com/docs/python/testing
-
VSCode Unittest
.vscode/settings.json{ //.venv Python "python.defaultInterpreterPath": "${workspaceFolder}\\.venv\\Scripts\\python.exe", //Pytest "python.testing.pytestEnabled": false, //Unitest "python.testing.unittestEnabled": true, //Testing Command "python.testing.cwd": "${workspaceFolder}", "python.testing.autoTestDiscoverOnSaveEnabled": true, "python.testing.unittestArgs": [ "-v", "-s", ".", "-p", "test_*.py" ] }
-
VSCode Pytest and Unittest
.vscode/settings.json{ //.venv Python "python.defaultInterpreterPath": "${workspaceFolder}/.venv/Scripts/python.exe", "python.terminal.activateEnvironment": true, "python.testing.pytestEnabled": true, "python.testing.unittestEnabled": false, "python.testing.pytestArgs": [ "-p", "no:cacheprovider", "test_envs/tests/pytest", "test_envs/tests/unittest" ], "python.testing.cwd": "${workspaceFolder}", "python.testing.autoTestDiscoverOnSaveEnabled": true, "python.analysis.extraPaths": [ "${workspaceFolder}" ] }
pytest and unittest
| 항목 | unittest |
pytest |
|---|---|---|
| 기본 성격 | Python 표준 라이브러리 | 외부 테스트 프레임워크 |
| 작성 방식 | 클래스와 메서드 중심 | 일반 함수만으로도 가능 |
| 반복 조건 테스트 | 코드가 길어짐 | @pytest.mark.parametrize가 편함 |
| UART/JTAG/전원장치 준비 | setUp, tearDown |
fixture로 계층화 하기 좋음 |
| 실패 메시지 | assert 메서드 사용 | 일반 assert도 상세 분석 |
| 장비별 선택 실행 | 별도 구현 필요 | marker로 간단히 분류 |
| 플러그인/리포트 | 제한적 | HTML, XML, 병렬, timeout 등 풍부 |
pytest fixture
- 3개 장비 fixture 구성
power_supply
    ↓
digilent
    ↓
fpga
    ↓
saleae
    ↓
test case
- 각 test case 구성
                ┌─ digilent
test case ──────┼─ fpga
                └─ saleae
- FPGA·Digilent·Saleae 장비별 지원 가능한 테스트 (pytest fixture)
| 장비 | 지원 가능한 기능 | pytest fixture에서 하는 일 | 실제 장비 테스트 예 |
|---|---|---|---|
| FPGA 보드 | JTAG bitstream 다운로드 | Vivado, Quartus, OpenOCD 등을 호출해 .bit, .sof 다운로드 |
전원을 켠 뒤 지정된 bitstream이 정상 다운로드되는지 확인 |
| FPGA 보드 | FPGA 리셋 제어 | JTAG, GPIO 또는 USB-UART 명령으로 리셋 | 리셋 후 READY 신호가 제한 시간 안에 발생하는지 확인 |
| FPGA 보드 | UART 로그 수집 | COM 포트 연결, baud rate 설정, 로그 버퍼 초기화 | 부팅 후 FPGA READY, PLL LOCK 로그 확인 |
| FPGA 보드 | 레지스터 읽기·쓰기 | UART, USB, PCIe, SPI 인터페이스 초기화 | Control Register에 값을 쓰고 Status Register 반영 확인 |
| FPGA 보드 | GPIO 입력·출력 | GPIO 방향과 초기 출력값 설정 | 입력 GPIO 상승 후 출력 GPIO가 10 μs 이내에 변하는지 측정 |
| FPGA 보드 | PWM 생성 | PWM 주파수와 duty 설정 | 1 kHz, 50% PWM이 실제로 출력되는지 확인 |
| FPGA 보드 | SPI Master/Slave | SPI mode, clock, word length 설정 | 0xAA 0x55 전송 후 Saleae 디코딩 결과 비교 |
| FPGA 보드 | I²C Master/Slave | 주소, 속도, register map 설정 | EEPROM 또는 가상 센서 레지스터 읽기·쓰기 확인 |
| FPGA 보드 | UART 송수신 | baud rate, parity, stop bit 설정 | 여러 baud rate에서 loopback 오류율 측정 |
| FPGA 보드 | 외부 클럭 입력 | 외부 clock source 선택 | Digilent에서 공급한 10 MHz 입력에 PLL이 lock되는지 확인 |
| FPGA 보드 | 내부 클럭 출력 | Clock divider와 출력 pin 설정 | FPGA 출력 클럭의 실제 주파수와 jitter 측정 |
| FPGA 보드 | 인터럽트 발생 | 인터럽트 조건과 mask 설정 | 입력 이벤트 후 IRQ 출력 지연시간 확인 |
| FPGA 보드 | 메모리 테스트 | BRAM, DDR, SRAM 테스트 명령 실행 | Walking 1/0, address pattern, random pattern 검사 |
| FPGA 보드 | 영상 신호 발생 | Test pattern, sync, pixel clock 설정 | VSYNC, HSYNC, DE, Pixel Clock 주기와 관계 측정 |
| FPGA 보드 | 오류 주입 | CRC 오류, timeout, invalid packet 생성 | 잘못된 SPI packet 수신 시 error flag 발생 확인 |
| Digilent Analog Discovery | 가변 전원 공급 | 출력 전압, 전류 제한 설정 후 전원 인가 | 3.3V 전원에서 FPGA가 정상 부팅되는지 확인 |
| Digilent | 전원 시퀀스 생성 | 여러 전원 채널의 켜짐 순서와 지연 설정 | 1.0V → 1.8V → 3.3V 순서 위반 시 FPGA 동작 확인 |
| Digilent | 전압 sweep | 전압을 단계별로 변경 | FPGA가 3.0~3.6V 범위에서 정상 동작하는지 확인 |
| Digilent | 전원 순간 차단 | 지정 시간 동안 전원 off 후 복구 | 100 ms brownout 후 FPGA 자동 복구 여부 확인 |
| Digilent | Wavegen 정현파 출력 | 주파수, 진폭, offset 설정 | FPGA ADC 또는 comparator 입력 동작 확인 |
| Digilent | Square/Pulse 출력 | clock, pulse width, duty 설정 | FPGA 외부 클럭 입력 테스트 |
| Digilent | 임의 파형 출력 | CSV 또는 배열 기반 파형 생성 | 센서 출력과 유사한 비정상 파형을 FPGA에 입력 |
| Digilent | 오실로스코프 측정 | 채널, range, sample rate, trigger 설정 | FPGA PWM RC 필터 출력 평균전압 측정 |
| Digilent | 아날로그 전압 측정 | 평균, 최대, 최소, RMS 계산 | 1.8V 및 3.3V 전원 rail 허용오차 검사 |
| Digilent | 주파수 측정 | 입력 파형 edge 분석 | FPGA PWM 또는 clock 실제 주파수 측정 |
| Digilent | Rise/Fall time 측정 | threshold와 sampling 설정 | FPGA GPIO의 상승·하강 시간 검사 |
| Digilent | Overshoot 측정 | 기준 전압 대비 peak 검출 | 3.3V GPIO가 3.6V 이상 overshoot하는지 확인 |
| Digilent | 아날로그 trigger | 전압 threshold trigger 설정 | 전원 rail이 떨어지는 순간 디지털 신호 캡처 시작 |
| Digilent | 임피던스 분석 | 주파수별 크기와 위상 측정 | FPGA 출력단 RC 필터의 cutoff frequency 확인 |
| Digilent | 디지털 패턴 출력 | 여러 GPIO pattern 생성 | 병렬 DVP 또는 일반 GPIO 입력 패턴 생성 |
| Digilent | 간단한 Logic Analyzer | 디지털 채널 캡처 | 낮은 채널 수의 GPIO, SPI, UART 신호 확인 |
| Saleae Logic Analyzer | 디지털 신호 캡처 | 채널, sample rate, trigger, capture 시간 설정 | FPGA 입력·출력 GPIO edge 시간 비교 |
| Saleae | GPIO timing 분석 | rising/falling edge 검출 | 입력 펄스부터 출력 응답까지 latency 측정 |
| Saleae | 주파수 측정 | edge 간 주기 계산 | FPGA clock 및 PWM 주파수 검사 |
| Saleae | Duty cycle 측정 | high/low pulse width 계산 | PWM 10%, 50%, 90% 정확도 검사 |
| Saleae | Pulse width 측정 | 최소·최대 pulse width 추출 | FPGA interrupt pulse가 최소 폭을 만족하는지 확인 |
| Saleae | 채널 간 skew 측정 | 여러 채널 edge 시간 비교 | FPGA 병렬 데이터와 clock 간 setup/hold 관계 확인 |
| Saleae | SPI 디코딩 | CLK, MOSI, MISO, CS와 mode 설정 | FPGA SPI packet의 값, 순서, CS timing 확인 |
| Saleae | I²C 디코딩 | SDA, SCL 설정 | Address, ACK/NACK, register data 확인 |
| Saleae | UART 디코딩 | baud, parity, bits 설정 | FPGA UART 로그와 실제 byte sequence 확인 |
| Saleae | CAN 디코딩 | CAN analyzer와 bit rate 설정 | FPGA CAN Controller frame ID와 payload 확인 |
| Saleae | I²S 디코딩 | clock, word select, data 설정 | FPGA 오디오 샘플 순서와 bit depth 확인 |
| Saleae | Manchester 디코딩 | custom analyzer 또는 확장 기능 | FPGA 통신 encoding 결과 확인 |
| Saleae | 1-Wire 디코딩 | 1-Wire analyzer 설정 | FPGA 1-Wire Master timing 확인 |
| Saleae | 프로토콜 오류 분석 | framing, parity, ACK 오류 검출 | 잘못된 UART 또는 I²C 통신 오류 탐지 |
| Saleae | Trigger 캡처 | 특정 edge 또는 pattern에서 캡처 시작 | FPGA error GPIO가 발생한 순간 전후 신호 저장 |
| Saleae | 장시간 캡처 | 버퍼 또는 streaming capture 설정 | 수 시간 동안 간헐적 통신 오류 탐색 |
| Saleae | 캡처 파일 저장 | .sal 파일 자동 저장 |
실패한 테스트의 전체 디지털 파형 보존 |
| Saleae | CSV 내보내기 | edge와 analyzer 결과를 CSV로 저장 | CI에서 timing 및 packet 결과 자동 분석 |
| Saleae | Protocol analyzer 결과 내보내기 | decoded frame export | SPI/I²C/UART packet을 pytest에서 직접 비교 |
| pytest | 장비 연결 관리 | 장비별 fixture 실행 | FPGA, Digilent, Saleae 연결 상태 자동 확인 |
| pytest | 초기화 순서 관리 | fixture 의존성 정의 | 전원 인가 → FPGA 다운로드 → Saleae 캡처 순서 보장 |
| pytest | 시험 조건 반복 | parametrize 사용 |
전압, 클럭, duty, baud rate를 변경하며 반복 |
| pytest | 장비별 시험 선택 | marker 사용 | FPGA, SPI, Saleae, Digilent 시험만 선택 실행 |
| pytest | 장비 미연결 처리 | fixture에서 pytest.skip() |
Saleae가 없으면 Saleae 시험만 skip |
| pytest | 허용오차 판정 | pytest.approx() 사용 |
3.3V ±0.1V, 1 kHz ±1% 판정 |
| pytest | 실패 자료 저장 | hook과 fixture 정리 코드 사용 | .sal, CSV, UART log, scope waveform 저장 |
| pytest | 테스트 리포트 | JUnit XML, HTML 생성 | HIL 시험 결과를 CI 서버에 기록 |
pytest with saleae
- 실패했을 때 Saleae 데이터를 자동 저장
@pytest.fixture
def saleae(request):
    logic = SaleaeDevice()
    logic.open()

    yield logic

    if hasattr(request.node, "rep_call"):
        if request.node.rep_call.failed:
            test_name = request.node.name

            logic.save_capture(
                f"artifacts/{test_name}.sal"
            )

            logic.export_csv(
                f"artifacts/{test_name}.csv"
            )

    logic.close()
결과 저장
artifacts/
├─ test_fpga_gpio_latency.sal
├─ test_fpga_gpio_latency.csv
└─ test_fpga_gpio_latency.log
pytest with digilent
Digilent가 FPGA에 입력 펄스를 발생시키고, FPGA가 이를 처리한 뒤 출력 GPIO를 변경하며, Saleae가 전체 지연을 측정하는 시험.
import pytest


@pytest.mark.hardware
@pytest.mark.fpga
@pytest.mark.digilent
@pytest.mark.saleae
@pytest.mark.parametrize(
    "input_frequency",
    [
        100,
        1_000,
        10_000,
    ],
)
def test_fpga_gpio_latency(
    fpga,
    digilent,
    saleae,
    input_frequency,
):
    # FPGA 내부 상태 초기화
    fpga.write_register("CONTROL", 0x01)
    fpga.clear_interrupts()

    # Saleae 캡처 준비
    saleae.configure_channels(
        {
            0: "DIGILENT_INPUT",
            1: "FPGA_OUTPUT",
            2: "FPGA_IRQ",
            3: "FPGA_CLOCK",
        }
    )

    saleae.start_capture(
        duration=0.2,
        trigger_channel=0,
        trigger_edge="rising",
    )

    # Digilent가 FPGA에 입력 펄스 발생
    digilent.generate_square_wave(
        channel=0,
        frequency=input_frequency,
        amplitude=3.3,
        offset=1.65,
        duty_cycle=50,
    )

    capture = saleae.wait_capture_complete()

    input_time = capture.first_rising_edge(channel=0)
    output_time = capture.first_rising_edge(channel=1)
    irq_time = capture.first_rising_edge(channel=2)

    output_latency_us = (
        output_time - input_time
    ) * 1_000_000

    irq_latency_us = (
        irq_time - input_time
    ) * 1_000_000

    assert output_latency_us < 10.0
    assert irq_latency_us < 20.0
    assert fpga.read_register("STATUS") & 0x01